Using Mail Merge in Microsoft® Word
When creating COM form letters in Microsoft® Word, you can use the Mail Merge feature. This section describes the steps in creating a COM form letter template with mail merge.
Make sure that the merge fields reference the COM database table fields. Before setting up the mail merge, you must know the column names from the COM tables in the database. If the names are misspelled or unknown, then the form letter will not be generated in COM.
- In the Word document, place the cursor where you would like to insert a merge field.
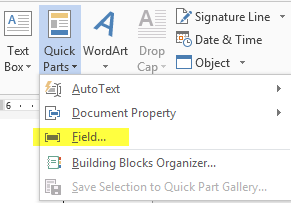
- On the ribbon, click the Insert tab.
-
Click .
 The Field dialog box appears.
 -
In the Categories list, select MailMerge.
The fields under the selected category are shown in the Field Names list.
-
Select MergeField.
The Field properties and options of the selected field are shown.
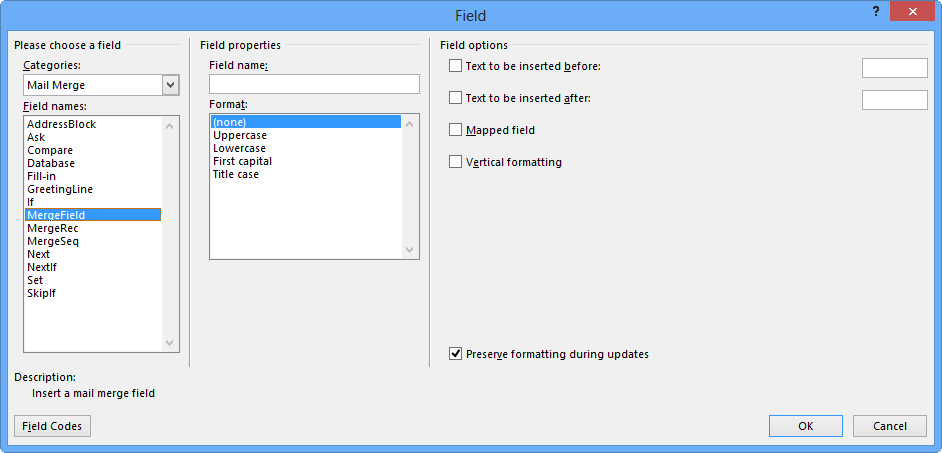
- In the Field Properties pane, type the name of the table column in the Field name field.
- Optional:
Perform any of the following steps:
- In the Format list, select the options that match your naming convention.
- In the Field options pane, select any of the following
options:
-
Text to be inserted before. Select this option and type the label you want to appear before the field data such as Name. The label will not appear if there is no field data.
-
Text to be inserted after. Select this option and type the label you want to appear after the field data. The label will not appear if there is no field data.
- Mapped field. Select this option if you have fields that represent commonly used names or address information such as First Name. For example, if a data source contains a field called FirstName or a variation such as FName, the field will automatically map to the corresponding mapped data field in Word, which may be First Name.
- Vertical formatting. Select this option to allow the characters to be converted for vertical formatting.
-
- Select the Preserve formatting during update option to make sure that the format you have set for the labels are not changed when the template is updated.
-
Click OK.
For information on this feature and its use in other versions, please refer to the Microsoft Word documentation.
When COM generates the email messages, it takes these merge fields and replaces them with the corresponding data.