Using the Tracker Action Browser
Tracker Action Browser lets you review all actions associated with a booking, run, or client.
Procedure
-
Open Trip Administration or Schedule
Editor.
If using Schedule Editor, click the View tab.
-
Click the Browse Tracker Action
button:

The Tracker Action Browser dialog box appears. If an event is selected and the event has an associated client, the Client Name field is filled in by default.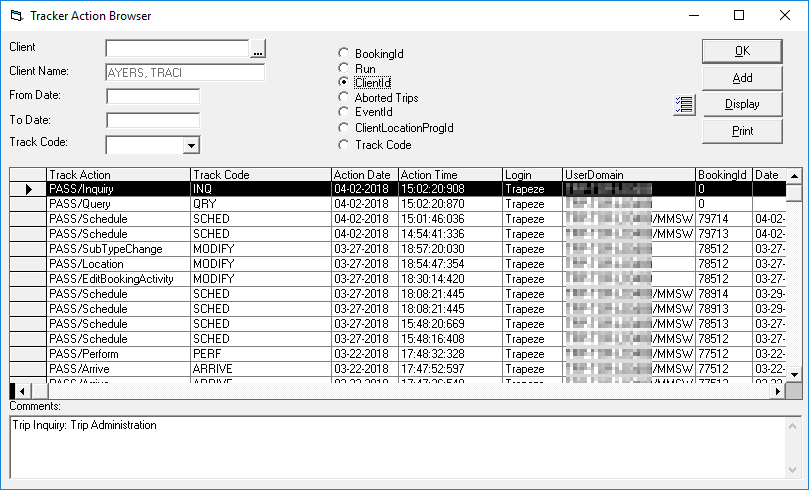
- Optional: Resize the window by clicking and holding the mouse cursor at the corner or border of the dialog box, and then dragging the corner or border until the window is the desired size.
- Optional:
Click Add "Master subscription booking" actions.
If selected, Tracker Action Browser shows the tracker actions for the BookingId's Master subscription booking (when tracker actions exist).
-
Select a filter option:
Option Description BookingId Specify the booking ID (for example, /7481), or use the ellipsis button (…). Run Specify the run name, run ID (for example, /25), or use the ellipsis button (…). ClientId Specify the client name, client ID (for example /22), or use the ellipsis button (…). Aborted Trips Aborted trips are those that have been partially typed by a reservationist. EventId Specify the event ID, or use the ellipsis button (…). Track Code Select one or more codes from the Track Code list and select a From Date. You can also filter by client.
- Optional:
To show, hide, or rearrange the columns in the Tracker Action Browser grid,
click the Customize Grid
button:

The Grid Columns Manager dialog box appears. - Optional:
To add another comment:
-
In the Tracker Action Browser dialog box, specify a new From date
and/or To date to change the date range for which you are viewing
records. Click Display to activate the new viewing context. A new set of
records appears when the date range is changed.
Aborted Trip appears in the comment column when trips are aborted by the reservationist. The comment is automatically generated for those instances. Deleted runs are also tracked.
- Optional:
Export the log to a file and print it: