Adding Pass Periods Based on Today's Date
When needed, period passes can be created using a defined number of days starting from today's date.
Procedure
- Click .
- Click the period pass to edit.
- Click Add Period.
-
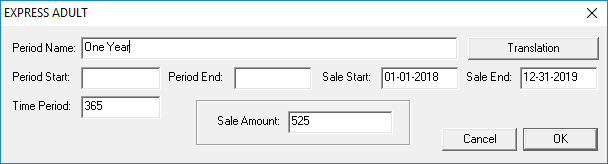
Provide the following information:
- Period Name
- The name of the period.
- Sale Start
- The date from when the pass can be sold.
- Sale End
- The date after which the pass can no longer be sold.
- Time Period
- The number of days for which the pass should be active.
- Sale amount
- The cost of the pass.
- Optional:
If a translation of the period name must be added, do the following:
- Click Translation.
- Select a Language.
- Type the Translation.
- Click Save.
- Click OK.