Creating Period Passes
Providing a translation of the name of available period passes allows clients to view the names of period passes in PASS-Web in the client's preferred language.
About this task
Procedure
- Click .
-
In the text field in the upper-left corner of the dialog box, type the name of the
period pass type.
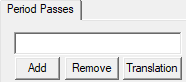
- Click Add.
-
When prompted to confirm the creation of the period pass, click
Yes.
The period pass is added to the list in the left pane.
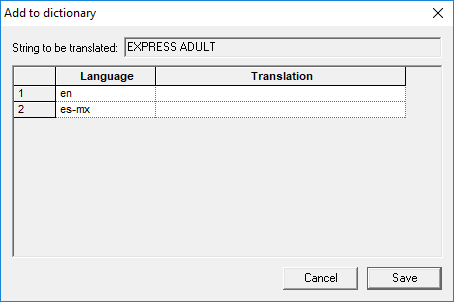
- Optional: To add a translation of the period pass name:
-
Click Translation.
The Add to dictionary dialog box appears.
-
Click Translation.
- Optional: To edit a period pass name:
- Double-click the period pass to edit.
- In the field in the upper-left corner of the dialog box below the Period Passes tab label, type the new name of the period pass type.
- Click Update.
- When prompted to confirm the update, click Yes.