Using the Extended FX Data Tools
Setting up the Extended FX Data Tools is a required step that determines how you use the tool through customization.
-
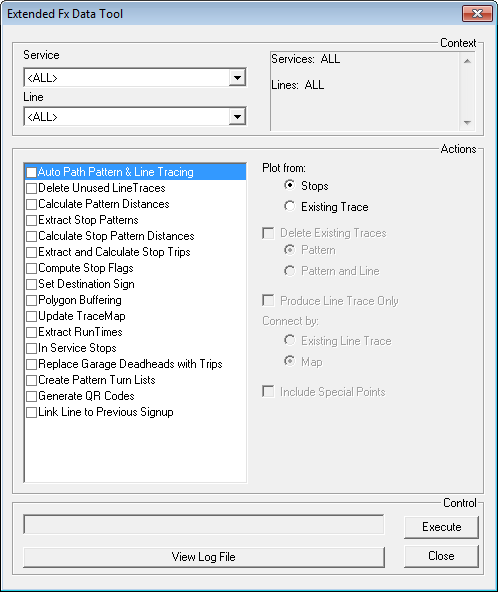
Click . The Extended FX Data Tool appears.
-
From the Service list, choose the service you want. The
default is set at <All> for all lines.
-
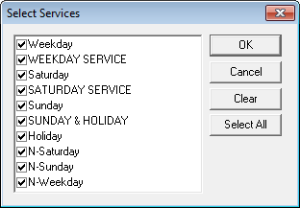
To select More than one Service Choose <Custom>.
The Select Service dialog appears
-
Select the services you want to include in the process and click
OK
The Services you selected are listed in the right section of the context frame.
- In the Actions frame, select the feature you want to apply. When you select some of the tools, for example, Extract Stop Patterns, additional fields appear on the right section of the Actions frame.
- Optional:
After setting the appropriate values in the right section of the
Actions frame for the selected tasks, click
Execute.
This button then turns into Stop. You can observe the progress of the action in the controls frame.
-
Click Stop to stop processing at any time.
If there are any errors, a message appears informing you that there are error messages in the log file after the processing is complete.
- To view the log file click View Log File. The log appears in a text editor.
- Click Close