Place text in quotation marks for exact match search results.
Adding Segment Aliases
Aliases, or alternate names, can be assigned to segments.
Make sure that you have write access to the map data.
Select one or more segments for which to add an alias.
Click Map > Properties , or click the Properties button:
The Properties dialog box shows information for the current
selection.
In the Properties dialog box, click the ellipsis [...] button
beside the alias field. (This is the second ellipsis button).
The Alias Properties dialog box appears.
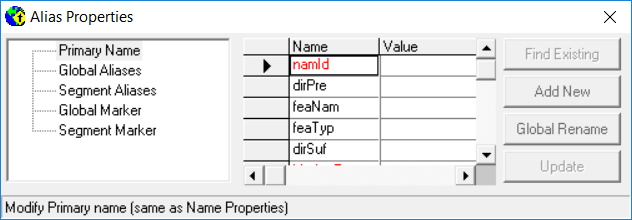
In the list at the left of the dialog box, click one of the following options:
Global Aliases - Specify an alias for all segments with the
selected street name.
Segment Aliases - Specify an alias to the selected
segments.
Click one of the following buttons:
Add New - Add a new alias name. Click the button, and then
type the alias information in Alias Properties dialog box
fields.
Find Existing - Specify an alias name that already exists
in the database. Click the button to open the Street Wizard, and
then on the Street tab, type the name in the empty field and
press ENTER. The Street Wizard shows street
names similar to the name that you entered. Double-click the name want to specify as the
alias. Name information appears in fields in the Alias Properties
dialog box. When searching for street names in the Street Wizard,
do not include directions before street names (for example, to look for West Hampton
Rd., type "Hampton" instead of "West Hampton").
In the Alias Properties dialog box, click Attach
Alias.
If the Attach/Detach Segment Alias dialog box appears, specify
whether to assign the alias to the current segment or to selected segments, and then click
OK .
The Alias field in the Properties
dialog box shows the alias name.