Using TSDE Export
Exporting data is the process of sending data from one application to another application while importing data is the process of loading a file, text, data, etc. prepared with one application into another application.
- To open the Data Exchange screen, click .
-
On the vertical screen toolbar on the left side of the Data Exchange tab, click the
Export button:

-
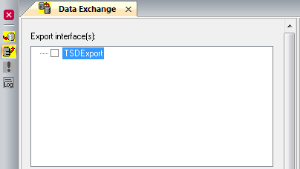
Select the TSDE Export checkbox on the Export
interface(s) pane.
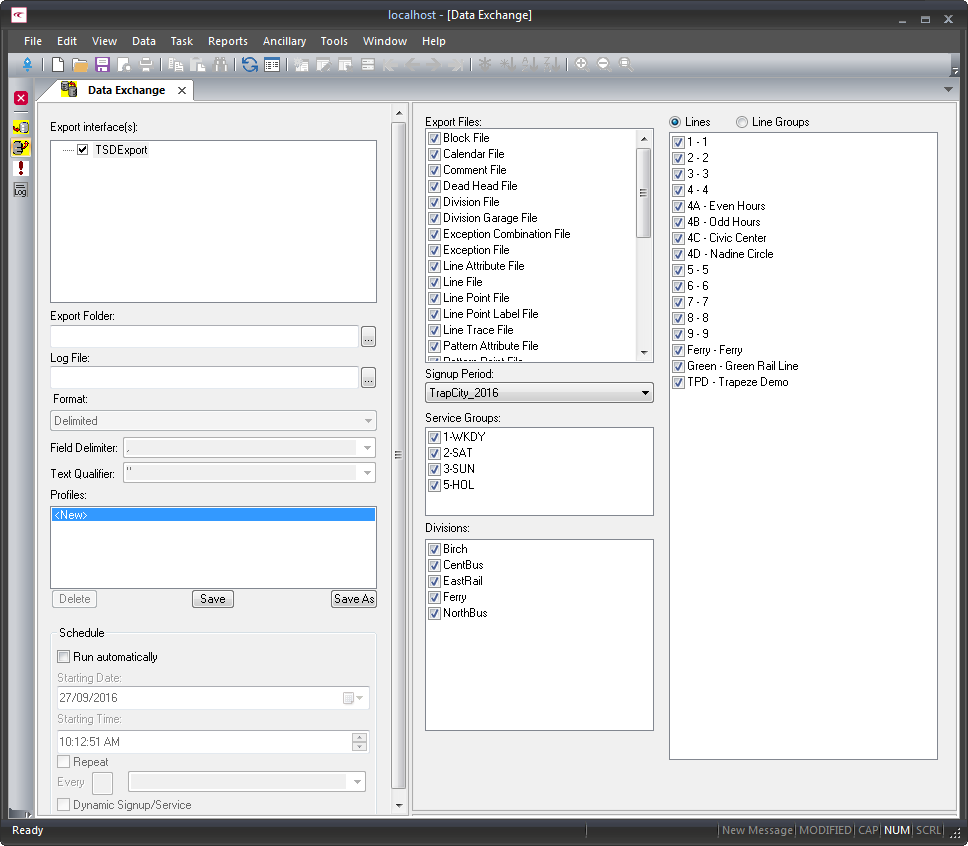
 Additional fields appear on the right pane. The Export Files frame shows the list of files that can be exported.Note: If you do not see the files, this may mean that TSDE has not been activated. For assistance, please contact your Trapeze representative.
 -
In the Signup Period dropdown list (below the Export Files
frame), select the sign-up period whose data you want to export.
The Service Groups, Divisions, and Lines frames are automatically filled in with the data associated with the sign-up period. The following image shows some sample data that has been selected for export.
 Note: TSDE Export only fills in the Stopnum on the Trip Times and Pattern Point files if the Line Point file option is selected. (If your transit site does not use Line Point files, do not select the Line Point file option.)
 -
In the Export interface(s) pane, click the ellipsis button in
the Export Folder field.
The Browse for Folder dialog is displayed. Select the folder where you want to store the data to be exported, and then click OK.
-
In the Log File field, click the ellipsis button.
The Browse for Files or Folders dialog is displayed. Select the log file you want to overwrite or enter a file name for the new log file, and then click OK.
-
In the Format dropdown list, select the appropriate format:
Delimited, Fixed Width, or
XML.
If you selected Delimited, the Delimiter and Text Qualifier fields are activated.
Perform one of the following steps:
- In the Field Delimiter list, select the symbol to distinguish the fields. for example, select comma (,) if the data is delimited by commas.
- In the Text Qualifier dropdown list, select the appropriate mark. The double quotation marks () is recommended.
- Review the lists in Service Groups, Divisions, and Lines/Line Groups frames and clear the checkboxes of the items that you do not want to include in the export.
-
Click the Execute Interface button:

A Summary message box is displayed.
- Verify the information displayed and if necessary, change the selections that you made in the previous steps.
- Click OK.