Creating User Accounts
User accounts allow each Trapeze user to have their own log in information.
- Do one of the following:
- Click .
Depending on your system setup, Security may be found in a different location.
- Click the Security shortcut:

The Security screen appears. - Click .
-
Do one of the following:
- Click .
- Click the Add User button:

The Enter User Login Name dialog box appears. - Type a log in name for the new user.
-
Click OK.
The new user name appears in the left pane.
-
Complete the applicable fields in the Attribute frame:
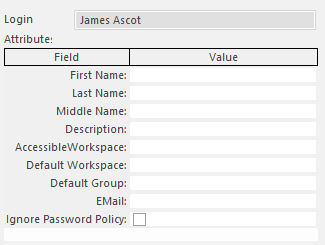 Accessible Workspaces are the Trapeze6 Workspaces that can be used by the user.Default Workspace is the workspace that appears when the user first begins using the Trapeze6 Client Shell. The defined workspace is always accessible to the user.A Default Group can be defined for users who are members of multiple user groups.
 - Click the Save button:
