Adding Line Groups
Line Groups are automatically generated as lines are created in ancillary data (see Creating Lines).
About this task
Procedure
-
Click .
The Lines dialog box opens.
-
On the Line Groups tab, click
Add.
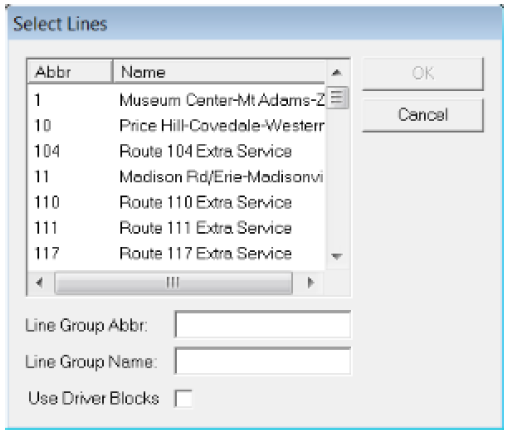
The Select Lines dialog box appears:
-
Click a line in the list.
Alternatively, press SHIFT and select a group of consecutive lines in the list or press CTRL and select non-consecutive lines.
- In the Line Group Abbr box, enter an abbreviation for the line group.
- In the Line Group Name box, enter a name for the line group.
- (If applicable) Select the Use Driver Blocks check box if you are using driver blocks.
-
Click OK.
If the line you are moving has trips already built on it:
The Change Trips' Line Groups dialog box opens: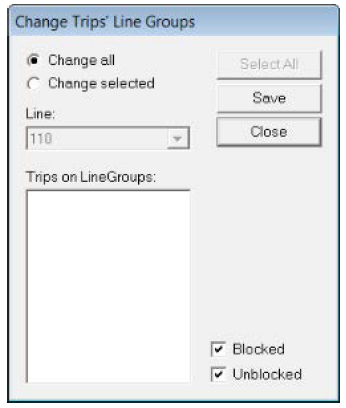
-
Perform one of the following options:
- To move all the trips within the selected line to the line group, click the Change all option.
-
To move selected trips only, click the Change selected option. From the Trips on LineGroups frame, choose the trips you want to move. To select all trips within the selected line, click Select All. The Blocked and Unblocked check boxes are selected by default.
- Select the Blocked and/or Unblocked check box depending on the weather you want to include either the blocked or unblocked trips or both types of trips.
- Click Save.