Sending Feedback by Email
You can send feedback details by email directly from the COM Representative and COM Investigator screens to other parties.
The following procedure applies to the Report e-mail option in the Correspondence dialog. For more information on using the Form Letter option, contact your system administrator.
- Open the screen from which you want to send the email message.
-
Click the Send Email button:
 .
The Correspondence dialog appears.
.
The Correspondence dialog appears.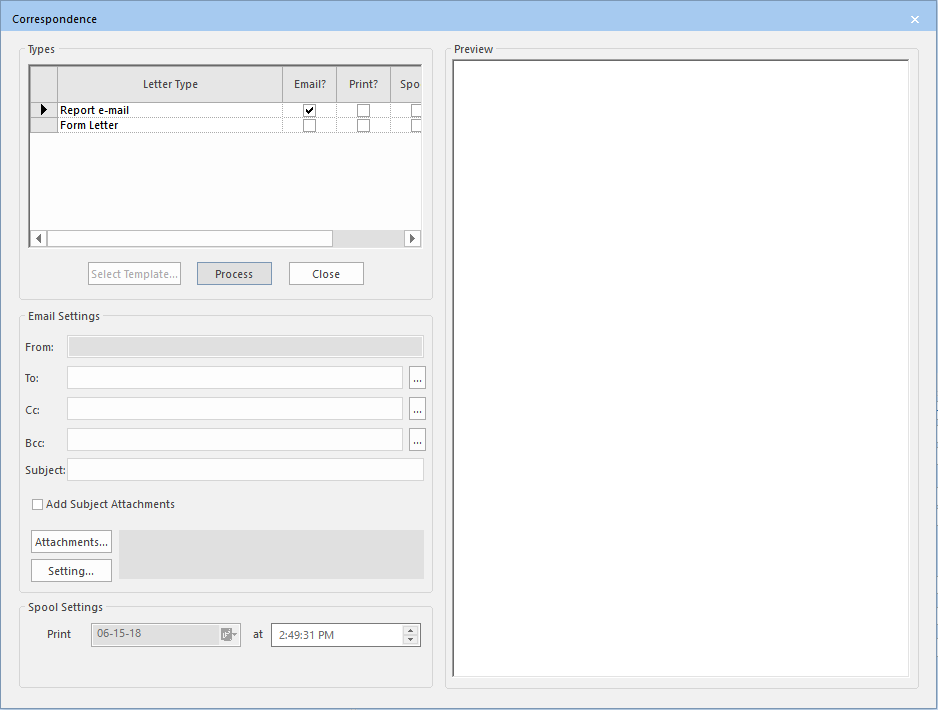
-
In the Types grid, ensure that the Email?
check box is selected for the Report email letter type.
The From field is read-only. The email address shown depends on the setting of the following context property:
COM/Email and Formletter/Use Default Email Address - If selected, the email address set in the COM/Email and Formletter/Default Email Sender context property is used. If not selected, the email address of the Investigator currently logged on is used. If there is no email address associated with the Investigator, the email address set in the Core/Services/EMail/SMTP/Default Sender context property is used. (This is not shown in the field but is added to the email message sent.)
Contact your system administrator for more information on these context properties.
-
Do one of the following steps:
- In the To field, type the email addresses of the primary recipients.
- To choose from the Distribution or
Investigators lists, click the ellipsis button beside the
To field:
 .
.
For detailed information on selecting groups or investigators, see Selecting from Distribution or Investigator Lists.
If you typed an invalid email address, an error message appears.
- Optional: Type or select the email addresses of the secondary recipients in the Cc (carbon copy) and/or Bcc (blind carbon copy) fields.
- In the Subject field, type a brief description of the contents of the email message.
-
Perform the following steps if using a template:
-
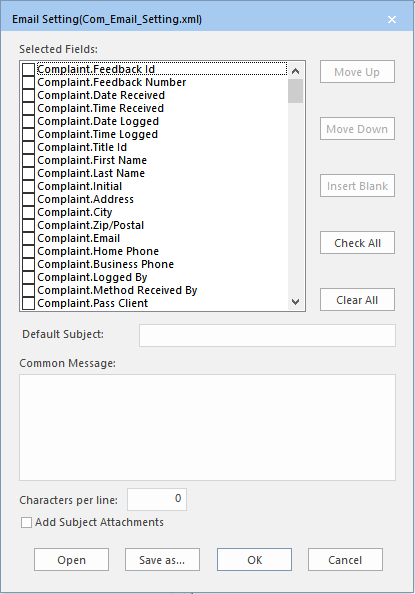
Click Setting.
The Email Setting (XXX.xml - X being the name of the template file set in the Complaint Email Setting context property) dialog appears. The following graphic shows an example, the ConfigCom_Email_Setting.xml template file:
-
Click Setting.
- Optional:
In the Correspondence dialog, perform any of the following
options to add attachments to the email message:
- To add the files attached to the Subject fields, select the Add Subject Attachments check box. (Make sure that the files are attached to the Subject.)
- To attach a file to the email message, click Attachments.
The Attachments dialog appears.

Browse to the folder where the files are stored. Select the file you want and click Attach.
If the COM/ Email and Formletter/ Always Include Subject Attachments in Email property is selected, all files attached to the feedback entry are automatically attached to manual and automatic email messages. If not selected, you must perform this step to attach the files. - Optional:
In the Preview pane, add or edit the contents of the
Preview screen.
You can add or edit the contents of the Preview pane if the COM/ Email and Formletter/ Allow user to modify Email context property is activated.
-
Click Process.
If the action was performed successfully, a message confirms the action and you can close the dialog or keep it open if you want to perform other tasks.
If the action failed, an error message appears. This occurs, for example, when the email was not sent, the form letter was not sent, or spooling was not performed. The dialog remains open and you can edit the settings and repeat the action.
- Click Close.