Place text in quotation marks for exact match search results.
Creating Surveys
You can add new Surveys in the customer survey manager as a method of gathering
feedback for your organization.
On the screen toolbar of the Customer Survey Manager screen, click
New Survey.
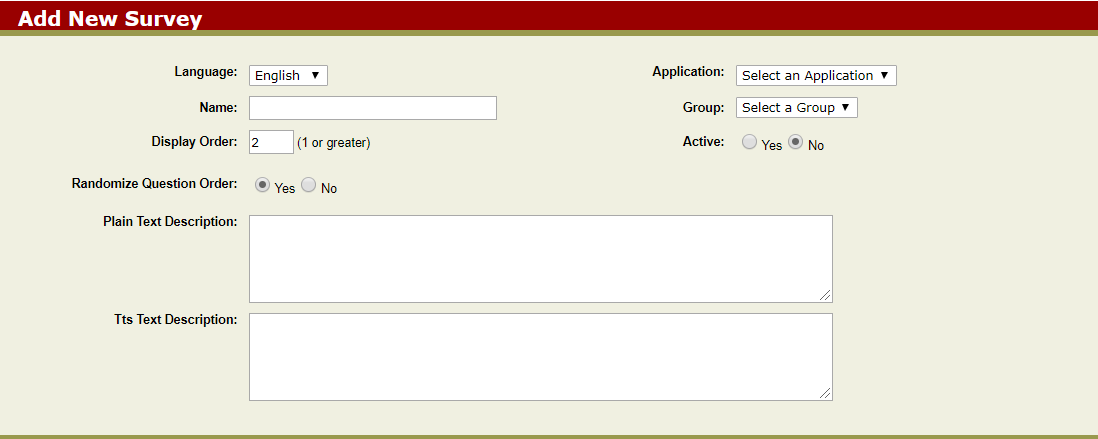
The Add New Survey screen appears.
In the Language list, select the language to be used in the survey.
In the Application list, select the application to be used in deploying the survey.
In the Name field, enter the name of the survey.
In the Group list, select the group for which the survey is designed.
To indicate whether or not the survey is active and can be taken by callers.
Click Yes.
Click No.
We recommend keeping the survey inactive (clicking No) until you have completed all
of the questions and choices.
In the Display Order field, type the number that sets the order in which the new survey is presented in the list of surveys.
In the Randomize Question Order field
Choose:
Yes for the system to order the questions in a random
manner.
No, if you want the questions to be taken in the order that
you specify.
In the Plain Text Description field, type what you want callers to see on the web page.
In the TTS Text Description field, type what you want callers to hear on the IVR system.
The TTS Text can be recorded in a wav file. When placed in the correct folder on the
IVR application server, the system plays the file instead of using the TTS Engine. (The
TTS Engine is the internal driver that plays back text in spoken words using a synthesized
voice.)
To replace the options you entered or selected, click
Clear Form. The values shown by default when you opened the
screen appear. Select and type your new choices.
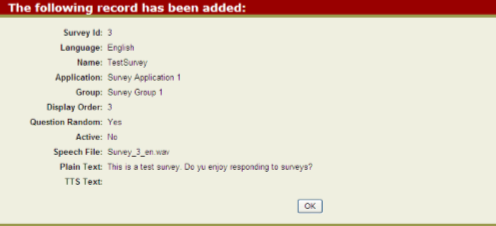
Click Submit. An information page shows the selections made. The
additional fields displayed on the page are:
ID : The unique identifier of the survey.
Speech File: The wav file that the system plays instead of using the TTS Engine.
Click OK to return to the Customer Surveys screen.