Recording Audio Prompts

After setting the recording and volume properties, you can proceed to record your audio prompts.

  1. On the GoldWave screen, click New:New Button
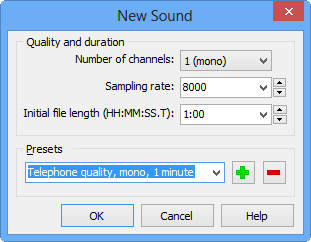
    The New Sound dialog box appears.
  2. From the Presets list, select the type of audio output you want. The other fields are automatically filled in with the values that match your selection.
  3. For short IVR prompts, select Telephone quality, mono, 1 minute.
    New Sound Dialog Box
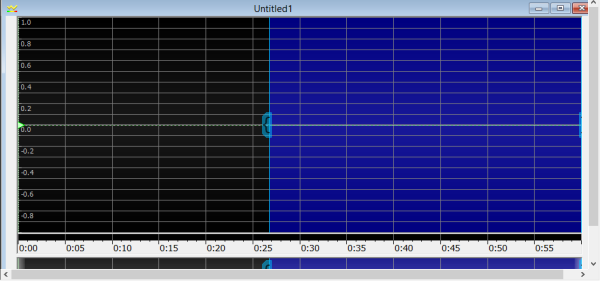
  4. Click OK. An Untitled sound window appears in the lower section of the screen.
    This window displays the sound graph for your recording. GoldWave refers to this window as a Sound window.
    Untitled Screen
  5. When you are ready to read your prompt, click Record:Record Button
    The duration dialog box appears.
    Duration Screen
  6. In the Recording duration field, set the length of the recording and click OK.
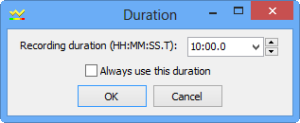
  7. To pause the recording, click Pause:Pause Button
  8. To continue, click the button again.
  9. To stop recording, click Stop recording:Stop Button
  10. To cut out any beginning and ending noise, click the Start or Finish marker and drag it from the very edge of either side of the screen.
    The Start and Finish markers appear as small green arrows on the line in the middle of the graph.
  11. Play your selection to verify that you have not cut out too much or too little.
  12. On the sound graph, adjust the markers as needed.
  13. When you are satisfied with your recording, click the Trim button:Trim Button
  14. Click Save.