Creating Messages
You can create messages to send to all clients or to a group of clients immediately or on a selected date and time.
-
On the main Floodgate Messaging screen, click Create
New.
The Create New Messages screen appears.

-
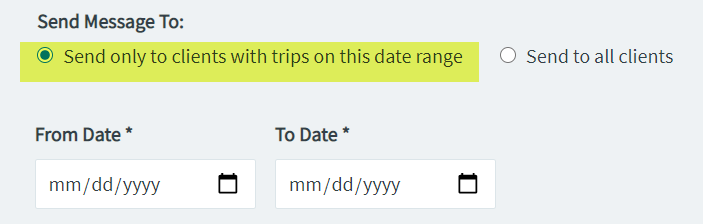
Choose the client to whom you want to send the message:
- Send to all clients - This is selected by default.
- Send only to clients with trips on this date
range - If you select this option, fill in the
From Date and To Date
fields.
- Required: In the Message Title field, type an appropriate title for the message.
-
In the IVR Message field, click the appropriate language
in which you want to send the message. (You can select more than one language if
required.)

- Type your message in the Message field
-
Click Next.
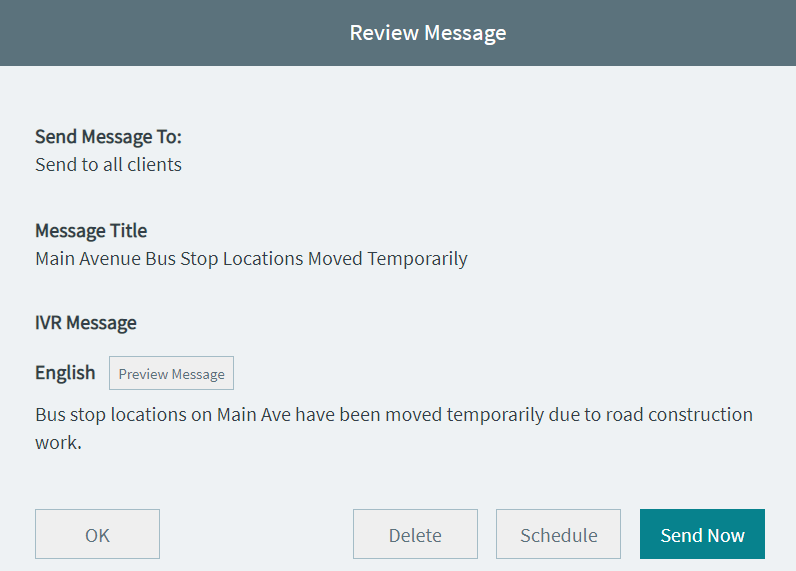
The Review Message screen appears.
-
Perform one of the following options:
- To preview the message, click Preview
Message.
The message can be previewed on a specified phone number to show how it would appear on the phone display.
- To save the message for completion later, click OK.
- To send the message immediately, click Send Now.
- To delete the message, click Delete.
- To send the message later, click Schedule. The
Schedule Message window appears:
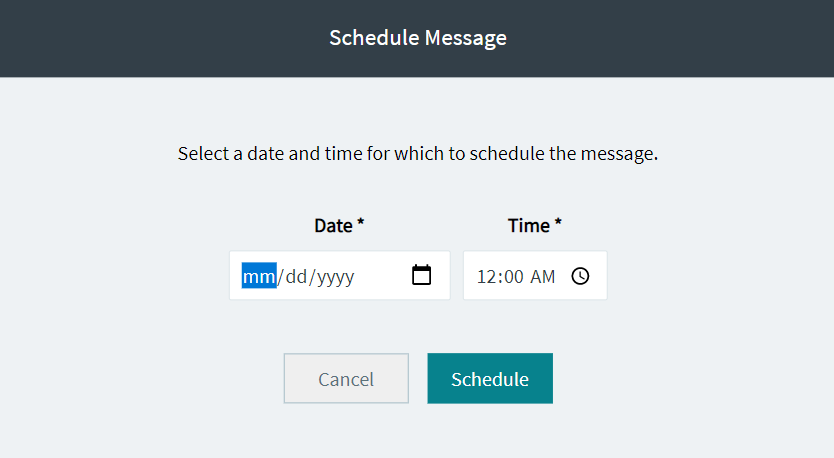 Click Schedule. The message is added to the Scheduled messages:
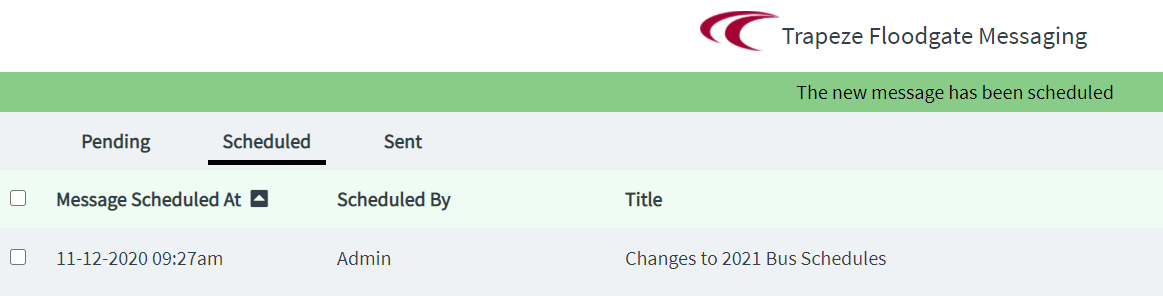
- To preview the message, click Preview
Message.
To create another message, click Create New on the upper-right section of the screen.