You can choose to manually plot routes on the map.
Make sure that you have selected the appropriate line when you
set your context in the Set Mode dialog box.
-
Click the System Map button:

-
In the Nodes grid, select the start node of the route that you
want to plot.
-
Click or click the Edit button:

The Edit dialog box appears.
-
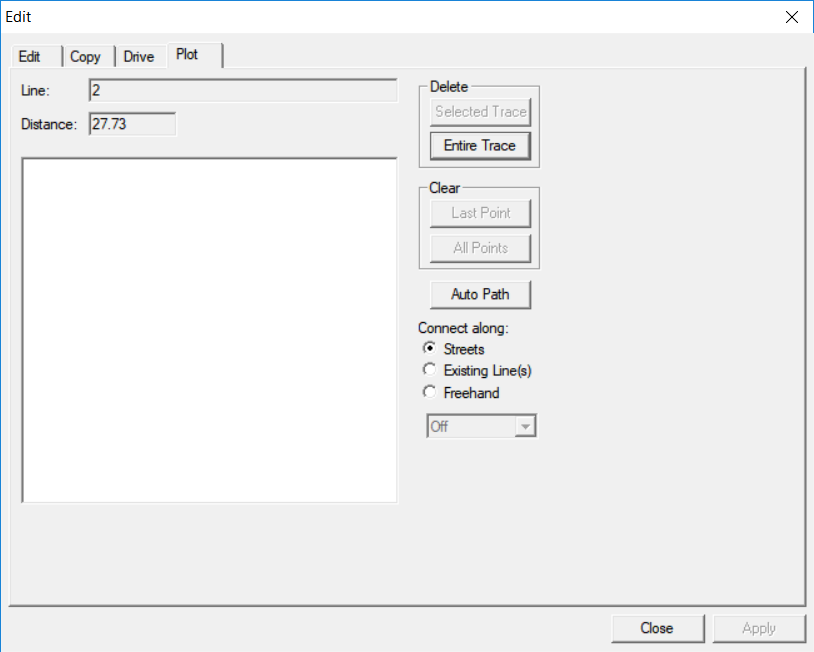
Open the Plot tab.
The line to which the selected node belongs appears in the Line
field while the length of the selected line is shown in the
Distance field.
-
Depending on how you want to plot the trace, click the appropriate option:
- Streets
- Existing Lines
- Freehand
-
Press SHIFT and click consecutive points on the system map from
where the route starts to where it ends. Connect points (shown as squares) appear on the
map where you clicked.
To plot a straight line, click the start point and end point only.
Alternatively, if there are turns in the route, you must click the mouse on each bend
so that the plot follows the segments that you want. Otherwise, the system map
calculates the shortest path.
As you click the system map, the names of the streets appear in the left frame of the
Plot tab.
-
To ensure your route trace is saved especially for long routes, click
Apply as you move along the trace.
- Optional:
Click one of the following options in the
Clear frame to redo a plot in case of error:
- Last Point - Erases only the last point of the trace.
- All Points - Erases all points of the trace you just
made.
-
After plotting the entire route, click Apply.
-
Click Close.
The pattern trace appears with the color set for Highlighted point (plot) in the
FX Properties dialog box.