Adding Line Groups
Line Groups are automatically generated as lines are created in ancillary data. You must ensure that line groups are defined properly for your site once they are generated. This involves placing additional lines and/or removing a line from a line group.
-
Click .
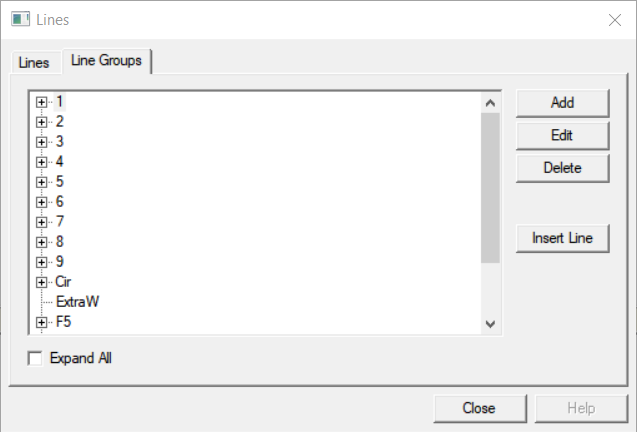 The Lines dialog appears.
 - Optional: To view all lines associated with a line group at once, select the Expand All checkbox.
-
On the Line Groups tab, click Add. The
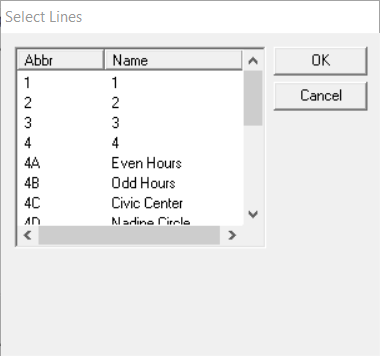
Select Lines dialog appears.
-
To select a line or lines from the list, perform one of the following steps in the top
frame:
- Click the line you want.
- Press SHIFT and select consecutive lines in the list.
- Press CTRL and select non-consecutive lines.
- In the Line Group Abbr field, type an abbreviation for the line group.
- In the Line Group Name field, type a name for the line group.
-
(If applicable) If your transit site requires the use of drop backs (driver blocks),
select the Use Driver Blocks checkbox.
Note: You must first make sure that the Use Driver Blocks system property is enabled. Historically, drop backs are used with subway or rail type routes in the scheduling process. Contact your Trapeze representative for more information.
- Click OK.