Creating Linked Lines
Linked lines are used to establish (single) routes on which vehicles travel with destination signs displaying the second line of a set throughout the trip. They are used for reporting purposes only.
Conversely, when the vehicle travels from 007 to 002, the destination sign shows line 002. Normally, vehicles working interlined routes change destination signs as the individual lines change.
-
Click .
The Lines dialog appears.
- Select a line to which you want to link another line.
-
Click Edit.
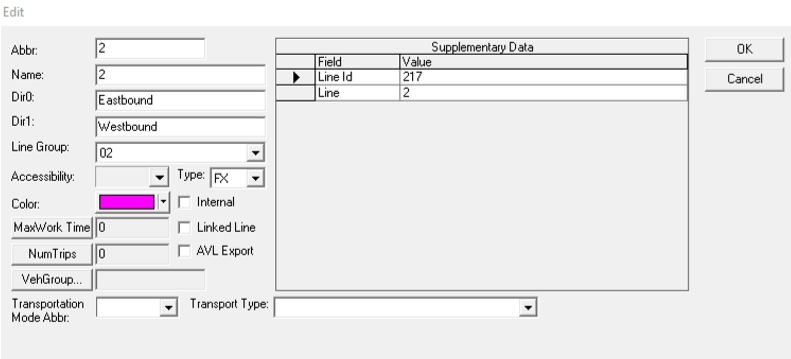
The Edit dialog opens with the Linked Line option.
-
Select the Linked Line checkbox.
The Dir0 links to and the Dir1 links to fields open at the bottom of the dialog.
- From the list in the Dir0 links to field, select the line to which the first direction links.
- From the list in the Dir1 links to field, select the line to which the opposite direction links.
- Click OK.