Assigning Runs to Polygons
Add polygons only if you want to restrict the run to specific areas.
Before you begin
About this task
Procedure
- Search for the run to which to assign to a polygon.
- Click the Detail tab.
- In the Polygons frame, click Add.
-
In the Polygon list dialog box, click a polygon type from the
Type list.
All polygons for the selected polygon type are shown in the Polygons list.
-
Highlight the polygon(s) you want and click OK.
Use CTRL to select multiple polygons.
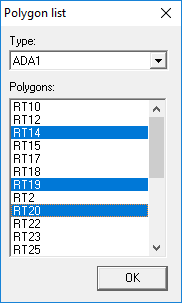 The Polygon list dialog box closes and the selected polygons are shown in the Polygons frame of the Detail tab.
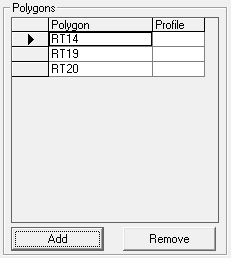
-
To assign an advance notice profile to the a selected polygon, do the following:
The advanced notice profile specifies a period of time from the current time to the live date. This allows transit agencies to expand the service area of the run as the service date approaches. Based on this information, Schedule Server can force runs to stay within a community when first scheduling and then search for solutions for harder to service trips as the schedule fills up.
- Click the Profile field beside the appropriate polygon.
- Click one or more advanced notice Profiles from the list.
- To remove a polygon from the Polygons grid, select the polygon's row and click Remove.
- Click the Save button:
