Batch Editing Point Records
The Batch Edit feature allows you to add or edit amenities and attributes of multiple selected points in the Points screen.
Note: When
batch editing on a mobile device, for example, a tablet, you can only do so with the points
that you have signed out. Points that you have not signed out or have been signed out by
another user cannot be included in the batch edit.
- Search for the points that you want to batch edit.
- On the Points grid, select the points that you want to batch edit.
-
Select the check box on the Amenities & Attributes pane.
The Amenities and Attribute Data columns appear on the pane. (These are similar to the columns on the Amenities tab in the Edit Point screen.) The following graphic shows some sample results:
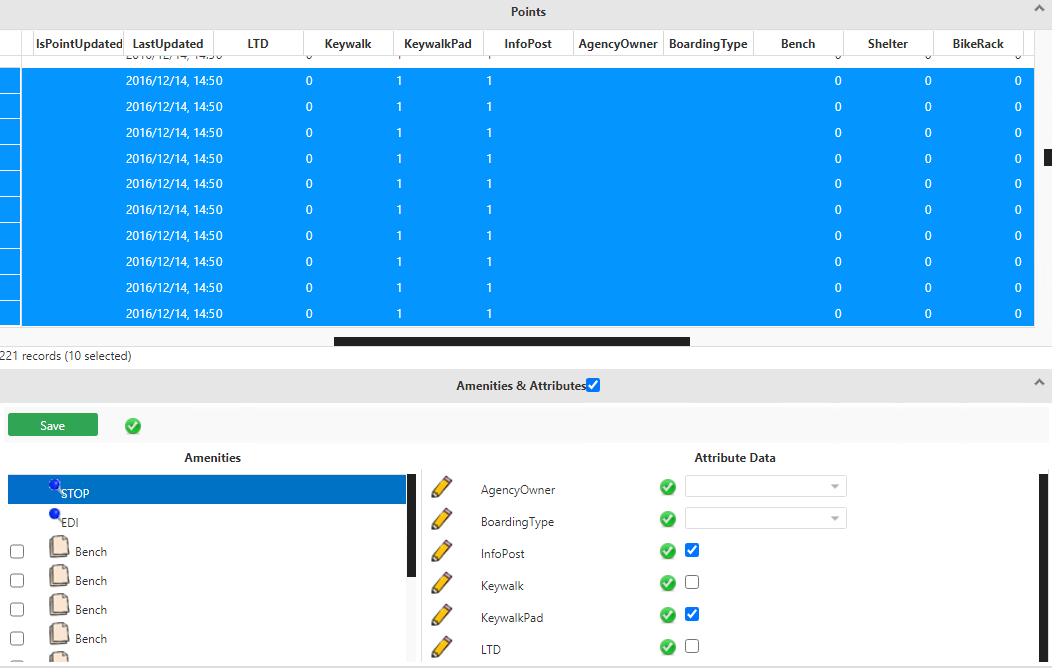 Note: In the Attribute Data frame, the check mark in a green circle indicates that the selected points share the same amenities and/or attributes. An exclamation mark in a yellow circle indicates that the points differ on some amenities and/or attributes.
 -
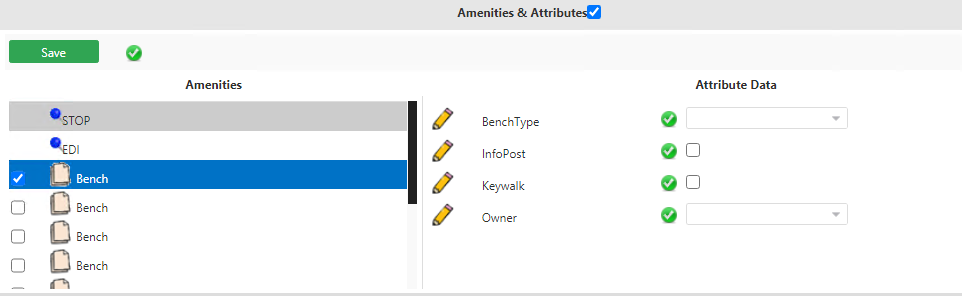
On the Amenities column in the Amenities &
Attributes pane, click the amenity you want to add or edit.
The attributes associated with the selected amenity appear in the Attribute Data column. For example, click one of the Bench options. (These depend on the number of benches that you have at the selected point). The attributes associated with the amenity appear in the Attribute Data column.
-
(For BSM EDI) Click the EDI point type.
Only the EDI point fields that have the Batch Editing Allowed option selected are displayed in the Attribute Data pane.Note: When viewing amenities of a single point only, all EDI fields are displayed.
-
In the Attribute Data column, select the attributes you want to
add or make the necessary changes as required.
The green and yellow icons beside each amenity and attribute may change. For example, if you changed an attribute of the selected point (with a yellow icon) to match what the other selected points have, the icon may change to green. This indicates that all the selected points now share the same amenity and/or attribute.
- Click Save.