Adding Lines
Insert information into fields using lines in ancillary data
- Press F3 and set the context you want to work with.
-
Click File > Ancillary Data > Fixed > Lines.
The Lines dialog box opens.
-
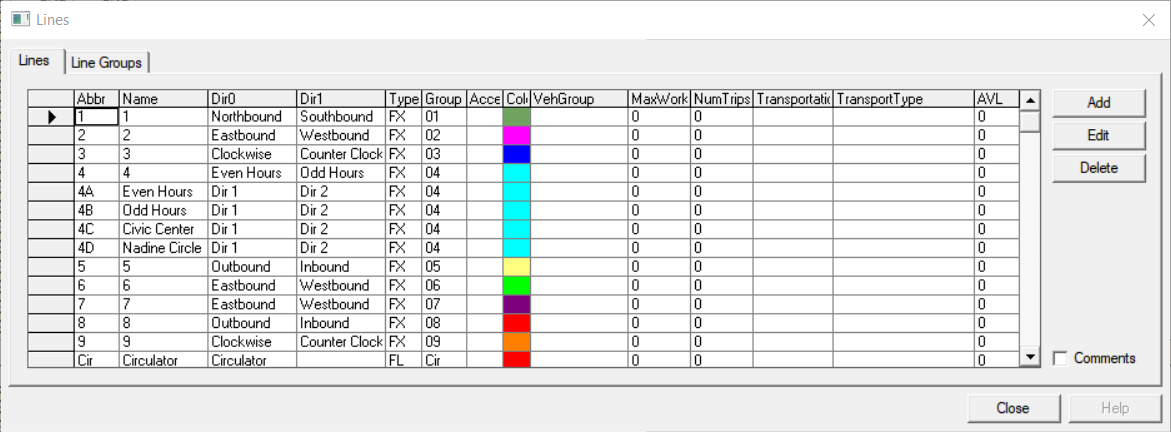
Click Add. The Add dialog box opens.
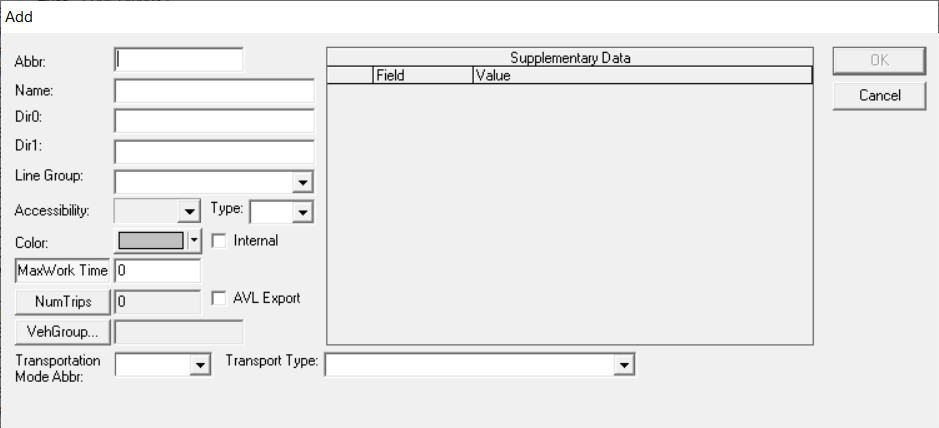
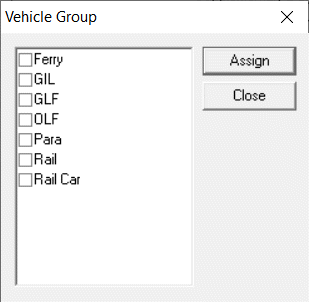
-
In the Abbr field, type an abbreviated name for the line.
The Line Group field is automatically populated with the same line abbreviation when you move to another field.
- Optional: To assign the line to another line group, select a line group from the Line Group drop-down list.
- In the Name field, type a full name for the line.
- In the Dir0 field, type one of the directions that the route takes (for example, Westbound).
- In the Dir1 field type the opposite direction that the route takes (for example, Eastbound). If your route is a loop route, use the Dir0 field.
-
(If applicable) In the Type drop-down list, select the type of route for which the line will be used:
- FL - Flex route
- FX - Fixed route
- Optional:
Perform any of the following steps as applicable:
- If your site uses Trapeze INFO-Agent, select the Internal check box. It is used to designate lines which are not providing public service such as school lines, and which would not, therefore, be appropriate to include in public timetables/itineraries.
- From the Accessibility list, choose an accessibility type to apply to the line. This is useful if you create a line designated as entirely bike rack available, for example. See Accessibility Types for information on creating accessibility types.
- If your site uses a TransitMaster application, select the AVL Export check box to export lines and the trips associated with them into TransitMaster. If the check box is clear, the selected lines and their trip data are not exported.
- In the Color selection box, click the arrow beside the color
indicated. Choose the color to represent this line when viewing it on the map.
(If you set a Route color in File Properties, it will be the color on a new line by default; otherwise, the default is gray.)
- If you have Supplementary Data created, fill in the appropriate information in the Value fields.
- (Used in BlockBuster only) In the Max work time field, type the maximum time that this line can be worked. The maximum time limits how long an operator can be on the route continuously.
-
(Used in BlockBuster only) To restrict the number of trips that can be applied to the
line, click NumTrips. In the NumTrips field,
type an appropriate number.
Important: Normally, a value is entered in the Max work time or Num Trips field but not both.
- Optional:
Click VehGroup. The Vehicle Group dialog
box appears.
- Select the check box beside the groups you want to apply to the line and click Assign. When you apply a vehicle group (or type) to a line, you restrict the vehicle assignments that can be made to it during blocking. This is useful if you need to guarantee a certain capacity vehicle, for example, for the line.
- (If Applicable) From the Transportation Mode Abbr and Transport Type drop-down lists, select the appropriate mode and type. For example, if your site uses Trapeze FLEX, select Flex.
- (If Applicable) If your transit site uses revenue numbers, type the appropriate value in the Revenue No field. This field is shown when you set the FX system property, Use Revenue No to Yes. Contact your Trapeze representative for more information.
- Click OK.
- Click Close.
A new column is shown to the right of the Color column. You may have to scroll to the right to view the Comment column. It contains the comments that are associated with each line.