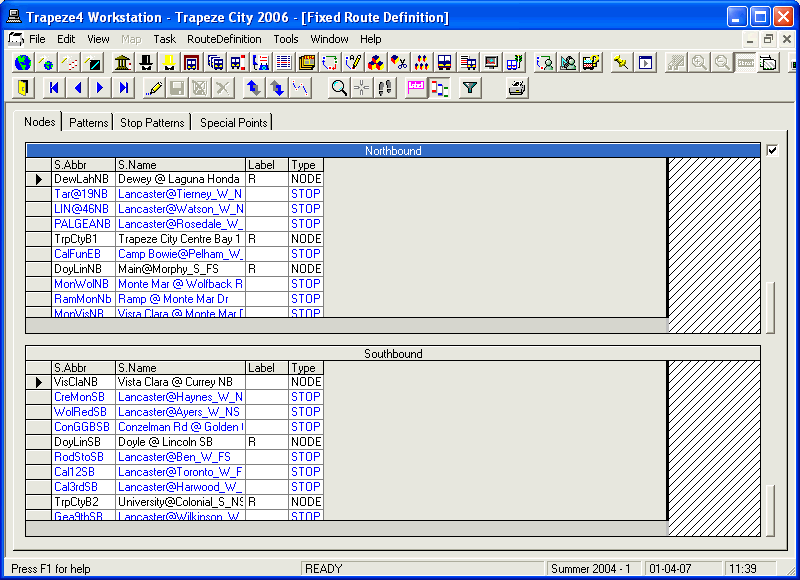
Displaying Nodes and Stops
By default, only nodes that have been defined for the line in your current context are displayed on the Nodes tab when you open the Route Definition screen.
-
To view the stops of a route in your current context, click .
The stops are listed together with the nodes in the grids.
-
To determine if a location is a stop or a node, see the Type
column.
When reorganizing nodes after they have been included in a route, it is often necessary to display the stops in the route as well. This allows the nodes and stops to be arranged in correct sequential order so that the patterns of the route can be created.
-
To rearrange the stops and nodes, perform the following steps:
-
Click either Move Up:
 or Move Down:
  .
The selected item moves up or down one level in the grid.
.
The selected item moves up or down one level in the grid. -
Once you have arranged the stops and nodes in the right order, click the
Save button:
 .
.
-
Click either Move Up:
-
To view columns that are not within view on the screen, click the horizontal scroll
bar.
Only the columns that display times now move to the left or right depending on how the scroll bar is dragged. If you scroll to the right, the columns on the left remain static while the node columns, that start with the first node appear to slide under the static columns as the hidden columns are displayed.