Test 4: Sending Messages at Scheduled Times
The purpose of this test case is to demonstrate that notifications can be sent on a scheduled date and time.
-
In the Create New Messages screen, after
completing the required fields, click Next.
The Review Message screen appears.
- Review the message.
-
Click Schedule.
The Schedule Message window appears.
-
In the Date field, perform one of the following
steps:
- Click the Date field and enter the date when you want to send the message.
-
Click the calendar icon and in the calendar, click the date when you want to send the message.
-
In the Time field, perform one of the following
steps:
- Click the Time field and enter the time when you want to send the message.
- Click the time icon and click the time when time you want to send the message
-
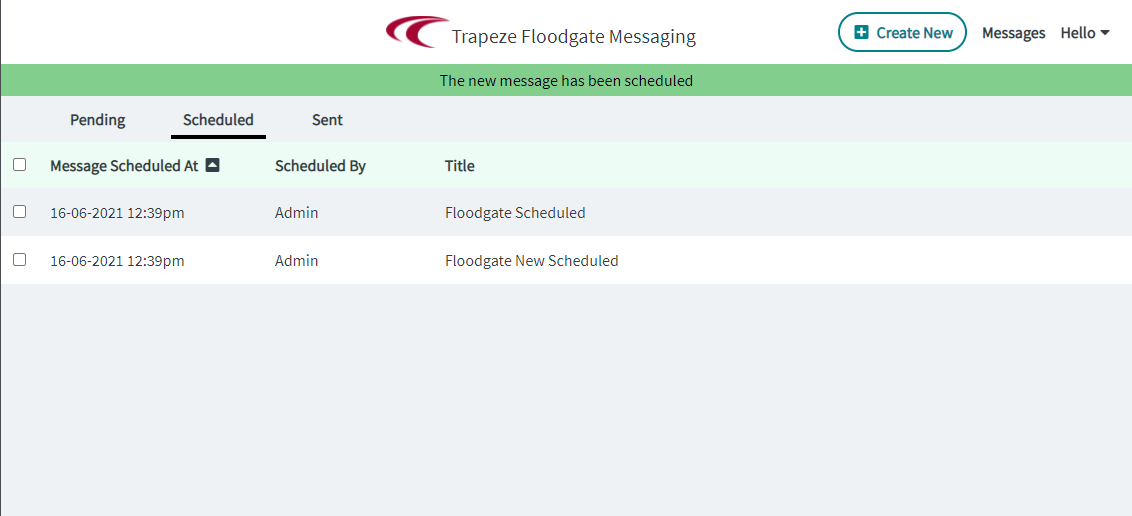
Click Schedule.
The message is added to the Scheduled messages.