Viewing Run Routing on the System Map
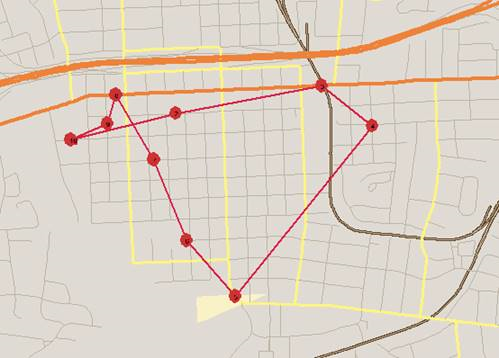
When viewing routing for a run on the system map, if the Street Route Traces for Runs property is set to No, the route is shown on the system map as straight lines between each event using the route’s system-assigned color.
Before you begin
About this task
Events must be properly geocoded to appear on the map.
If desired, routing can be shown using street routing instead (if in , on the Tools tab, under Schedule Editor, the Street Route Traces for Runs property is enabled). Contact a system administrator for assistance enabling this property. Enabling street route traces may slow down the performance of the Workstation when the system reloads and reloads the map.
If desired, routing can be shown using street routing instead (if in , on the Tools tab, under Schedule Editor, the Street Route Traces for Runs property is enabled). Contact a system administrator for assistance enabling this property. Enabling street route traces may slow down the performance of the Workstation when the system reloads and reloads the map.
Procedure
- Do one of the following:
- Click .
- Press Ctrl + M.
- Click the System Map button:

The system map appears. -
Click the Display on the Map button:

The route for the run itinerary appears. -
Move or resize Schedule Editor if necessary to make sure you have a good view of the
map.
Enlarge the route for better viewing by drawing a rectangle over the route area. Click and hold your left mouse button, drag the pointer to the bottom right corner of the area to enlarge, and then release the left mouse button. Repeat as necessary until you have zoomed into the area to be viewed.
- Right-click on the map and click Layer Control.
- Clear the Network check box in the Static Map Layers list.
-
Click OK.
The streets are no longer shown on the map.
- In the Estimated column in Schedule Editor, click the time for the first pull-out to highlight this point on the map.
- Click the down arrow on the keyboard to follow the events on your map.