Accepting and Declining Trips
When an external provider accepts a trip, the provider accepts the responsibility of transporting a client at the requested time from the pick-up location to the client’s destination.
Before you begin
About this task
Procedure
-
In the Provider Status Summary pane, click
Assigned.
Any assigned trips are listed in the Trips pane.
-
Review an assigned trip, and then accept or decline it:
- To accept the trip, right-click on it and click
Accepted.
Multiple trips can be selecting by holding CTRL while clicking individual trips or holding CTRL + SHIFT to select a range of trips, and then right-clicking and clicking Accepted.
The trips are removed from the Assigned list and moved to the Accepted list.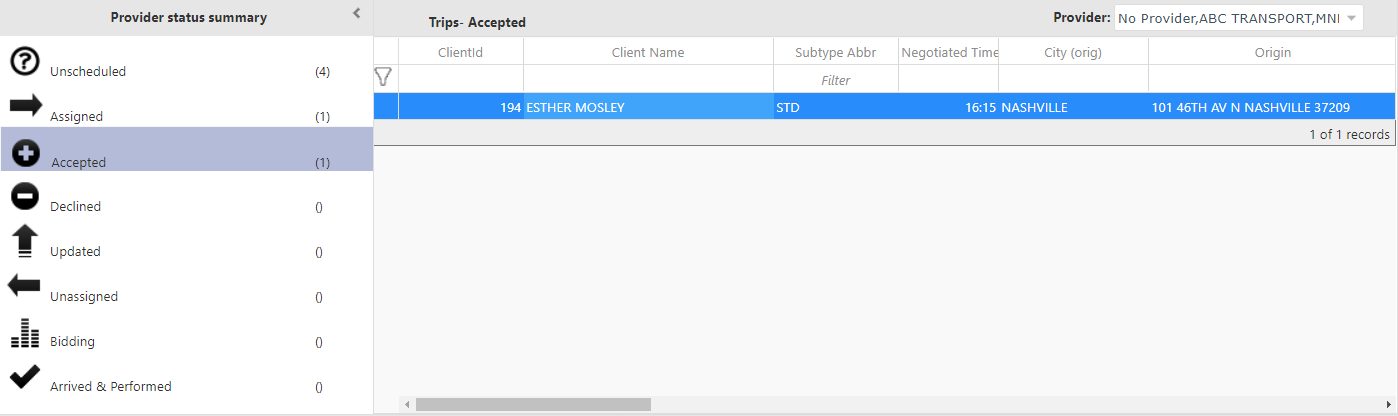
- To decline the trip, right-click on it and click Declined.
Multiple trips can be selecting by holding CTRL while clicking the trips or holding CTRL + SHIFT to select a range of trips, and then right-clicking and clicking Declined.
The trips are removed from the Assigned list and moved to the Declined list. Declined trips are also listed again in the Unscheduled list, where they are available to be assigned to another provider.
- To accept the trip, right-click on it and click
Accepted.
-
Click the Accepted status to view all trips that have been
accepted, or click the Declined status to view all trips that have
been declined.
If a trip has been declined, the trip can no longer be accepted by the provider.If the provider changes his or her mind, the trip must be reassigned to the provider to be accepted.Trips that have been accepted trips can be declined after being marked as Accepted.