Generating Itineraries
The main elements of planning a trip are the date and time of the expected arrival or departure from an origin to a destination, which can either be an address, stop, or location.
-
Perform one of the following steps to open the Itinerary Planning
screen:
- On the main toolbar, click the Itinerary Planning button:

- Click .
The Request tab is open by default.The fields on the right of the Date field and calendar button show the agencies, sign-up period, service, and exception (from the current context) operating on the selected date.
Figure 1. Itinerary Planning screen 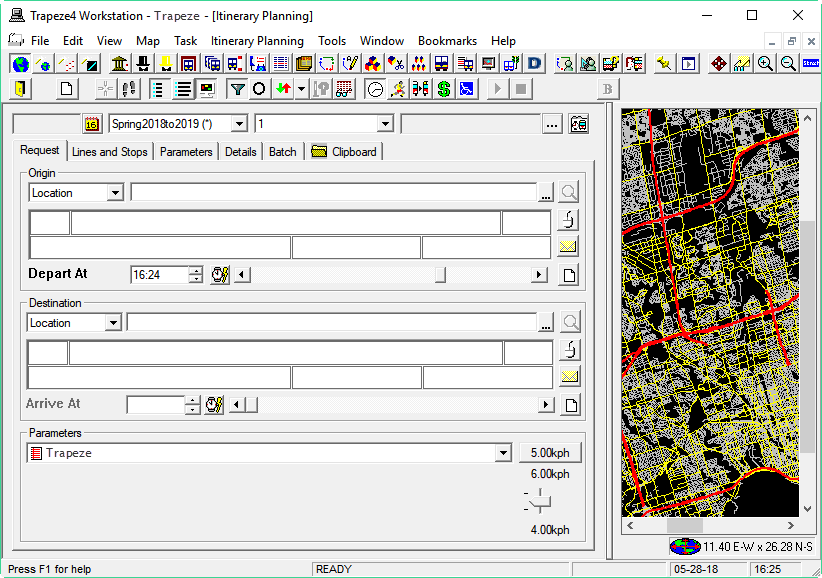
- On the main toolbar, click the Itinerary Planning button:
-
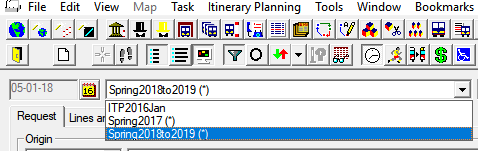
Edit any of the context fields such as date and sign-up period as required:
-
To define the date of the planned trip, perform one of the following steps:
- In the Date field, type the date.
- Click the calendar button beside the Date field to choose the date from the calendar.
-
Define the origin (From) or destination (To) or both of the planned trip in the
appropriate pane:
- Select the type: Location, Stop by Abbr, or Stop by Name of the origin or destination of the trip.
- Type or click the ellipsis button to select its name or abbreviation on the drop-down list, if available.
- Optional: Geocode your origin and destination.
-
Set the arrival or departure times of the planned trip. Type or use the spin controls
to set the times.
- If you selected a point of origin, set the time when you expect to depart.
- If you selected a destination, set the time when you expect to arrive.
Note: The itinerary is generated using only one of the times; you cannot specify both. Type time values in a variety of formats. 5:00pm can be entered as is or as “17:00” or “5p.” INFO-Agent recognizes APX time as well for cases when the 24 hour clock is exceeded. - Optional:
Perform any of the following additional steps as
appropriate:
- For a return trip plan, swap your origin and destination by clicking
Reverse Origin/Destination:
 Note: This button is active on the Request and Details tabs only.
 - For a more restrictive return trip plan, click the arrow beside the
Reverse Origin/Destination button and choose from the
following options:
- Return Itinerary (same origin/destination stops) Return Itinerary (to same origin stop)
- Return Itinerary (from same destination stop)
- To view both the origin and destination on the map, click Center
:

- For a return trip plan, swap your origin and destination by clicking
Reverse Origin/Destination:
- To apply parameters and other settings, perform the steps described in Parameters and Other Settings.
-
To start your itinerary search, click the Start Itinerary Search
button:

-
To stop the process while the itinerary is being generated, click the Stop
Itinerary Search button:

The search results appear on the Details tab. The information in the Details tab is in columns that can be resized. Drag the boundary on the right side of the column heading until the column is the width you want.