Using OPS Banned Passengers Management
The OPS Banned Passengers Management screen allows transit agencies to keep track of passengers banned from the system and distribute passenger details to operators using Employee Self-Service Employee Information.
-
Open the OPS Banned Passenger Management screen.
-
Set the Context (F3).
Context options for OPS Banned Passenger Management are Agency, From Date, and To Date.From Date is the earliest date for which to show banned passengers. Only passenger records with a From Date later than the defined context From Date are shown. For example, if a passenger was banned from 11-01-2021, using 01-05-2022 would exclude their record and using 10-01-2021 would include their record (even if they were banned until 12-31-2024).If To Date is used, only passenger records with a To Date earlier than the defined To Date are shown. Typically, To Date isn't defined.
-
In the detail view, right-click and select Add New
Record.
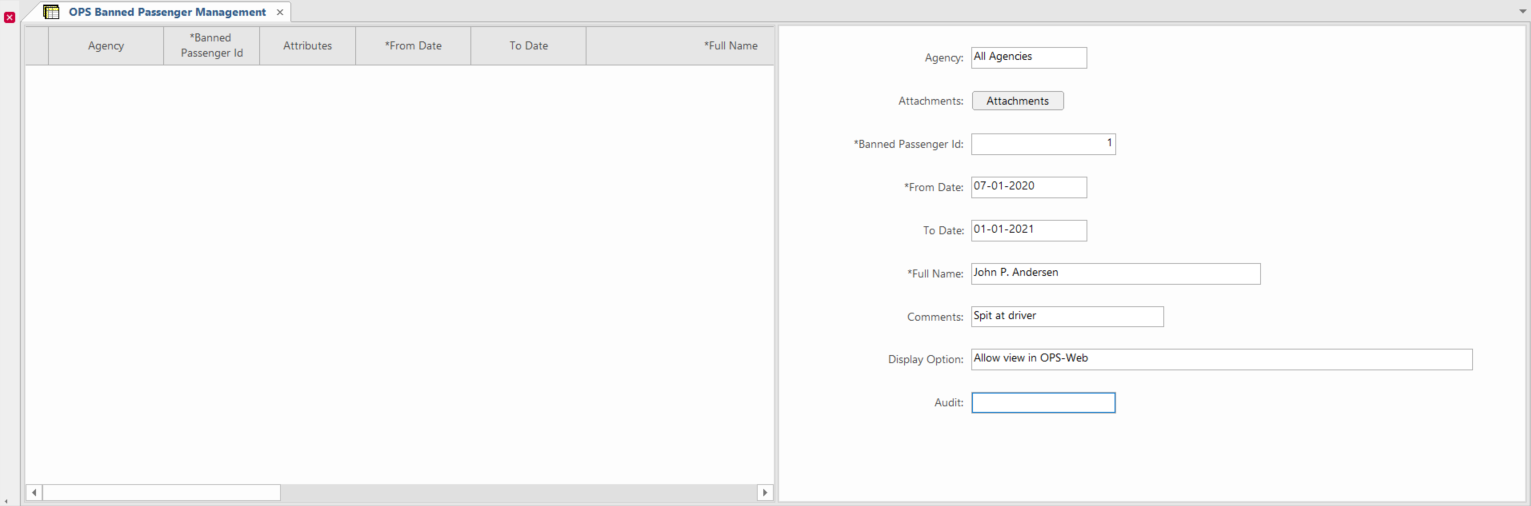
Entry fields appear. The Banned Passenger ID is filled.
-
Select the Agency for which the passenger is
banned.
You can also ban a passenger for all agencies.
- Select a From Date and enter the passenger's Full Name.
- If applicable, enter To Date and Comments.
- Optional:
Select a Display Option.
Choosing Allow view in Employee Self-Service allows Employee Self-Service users to see images of banned passengers.
-
Select Save:

-
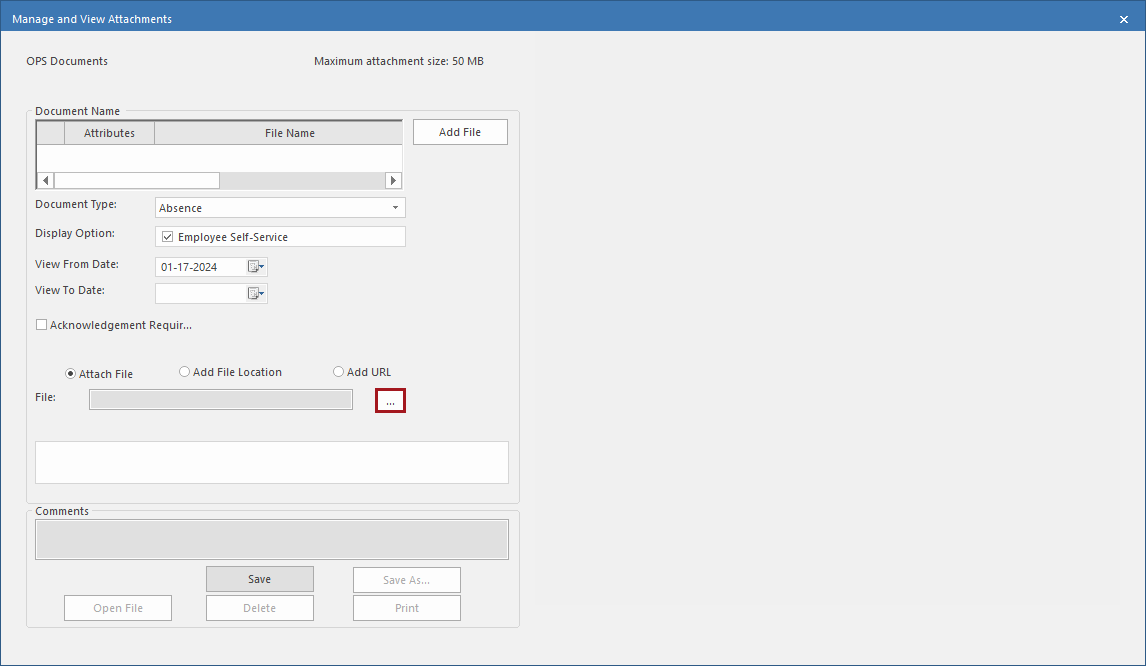
To add a passenger image to the record, do the following:
-
Select the ellipsis button (…).
-
Select the ellipsis button (…).