Using OPS Banned Passengers Management in the Client Shell
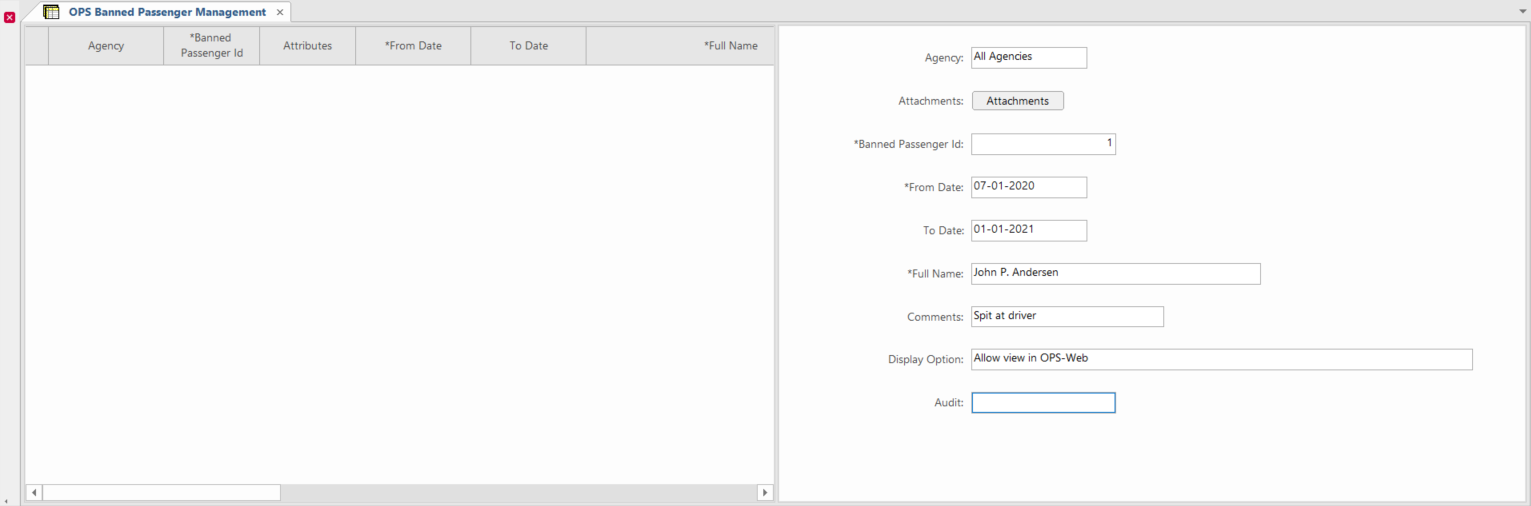
The OPS Banned Passengers Management screen allows transit agencies to keep track of passengers banned from the system and distribute passenger details to employees using ESS Employee Information.
-
In the Client Shell, open the OPS Banned Passenger
Management screen.
-
Set the Context (F3).
Records are shown for passengers banned at any point within the defined time range.
-
In the detail view, right-click and select Add New
Record.
Entry fields appear. The Banned Passenger ID is filled.
-
Select the Agency for which the passenger is
banned.
You can also ban a passenger for all agencies.
- Select a From Date and enter the passenger's Full Name.
- If applicable, enter To Date and Comments.
- Optional:
Select a Display Option.
Choosing Allow view in Employee Self-Service allows ESS users to see images of banned passengers.
-
Select Save:

-
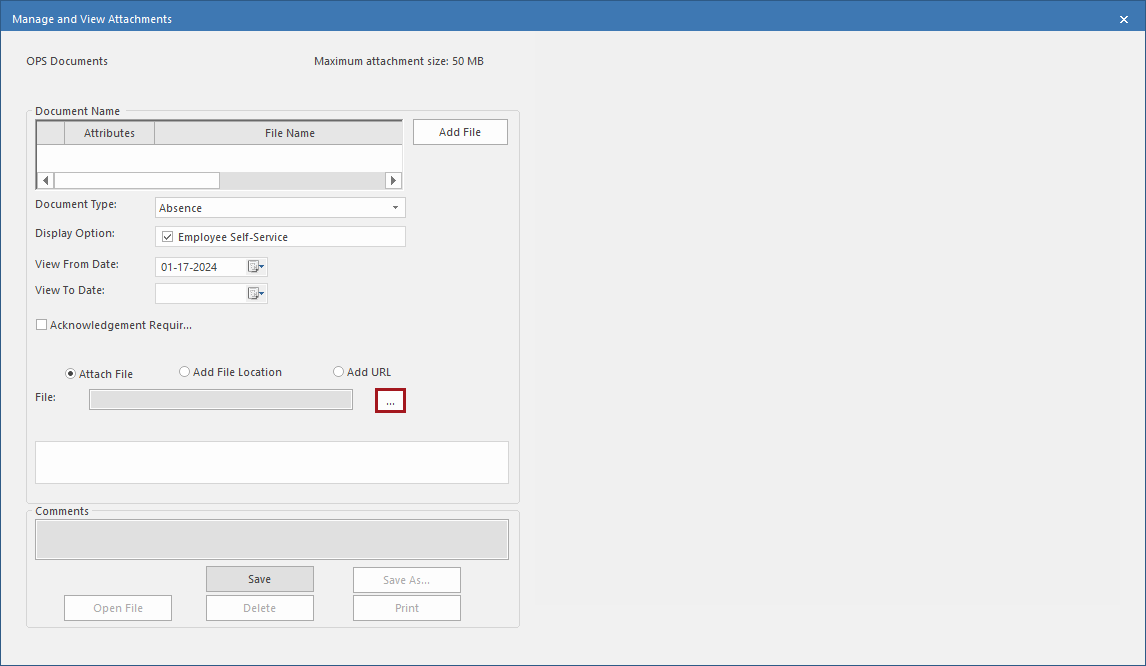
To add a passenger image to the record, do the following:
-
Select the ellipsis button (…).
-
Select the ellipsis button (…).