Saving and Testing User-Defined Reports
Although the Save button is available in other steps, you must save the report in the Save and Test step before testing and finalizing it.
Before you begin
Procedure
-
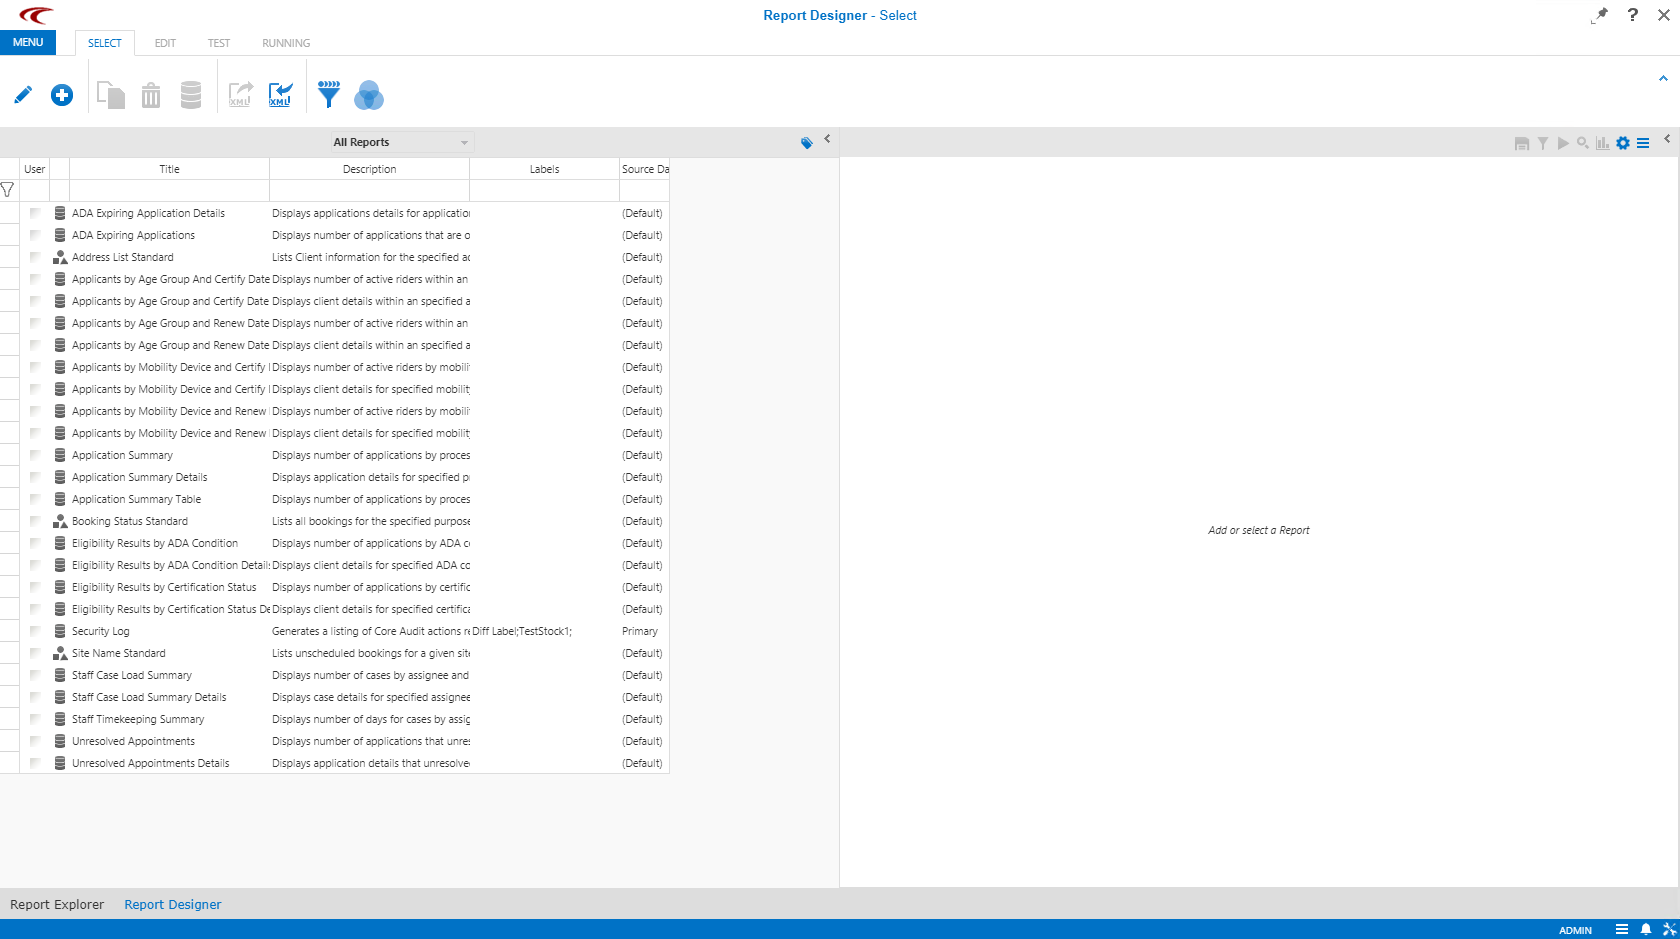
On the Reports list, double-click the report to edit, or create a
new report.
-
Click the Test step button:

The Test step appears with selection options. The options included depend on the report selected. - Test the report fields to confirm that they accept input data as expected by typing and selecting sample data in the fields.
-
Show a test report by selecting a report type in the lower-right corner of the screen,
and then clicking Report.
The report is generated and opens in the Running step, where it can be viewed and printed.
- If the report needs to be adjusted, click a previous step to modify the report as needed.
- Optional:
Perform any of the following steps as needed:
-
To add the report to Report Designer, click the Configure Links step button:

-
Click the Links tab on the navigation bar, select the report in the Available Links pane and click Add. The report is added to the Current Links for Application User pane. Click the Save button:

-
To prevent the system from deleting unreleased report resources such as in the database, click the Disable Cleanup button:

-
To manually delete all unreleased report resources, click the Delete all unreleased resources button:

-
-
Click the Save button:
A screen appears with information in panels at the bottom. - To view a preview of the report, select a format from the Report list and click Report.