Creating Bulletins
Create detour bulletins in the OPS Master Divisions, OPS Line Group, and Runs Display screens, or create new bulletins of any type from OPS Bulletins.
- Open the OPS Bulletins screen and set the Context (F3).
-
Select Add Bulletin:

-
Select the Bulletin Type.
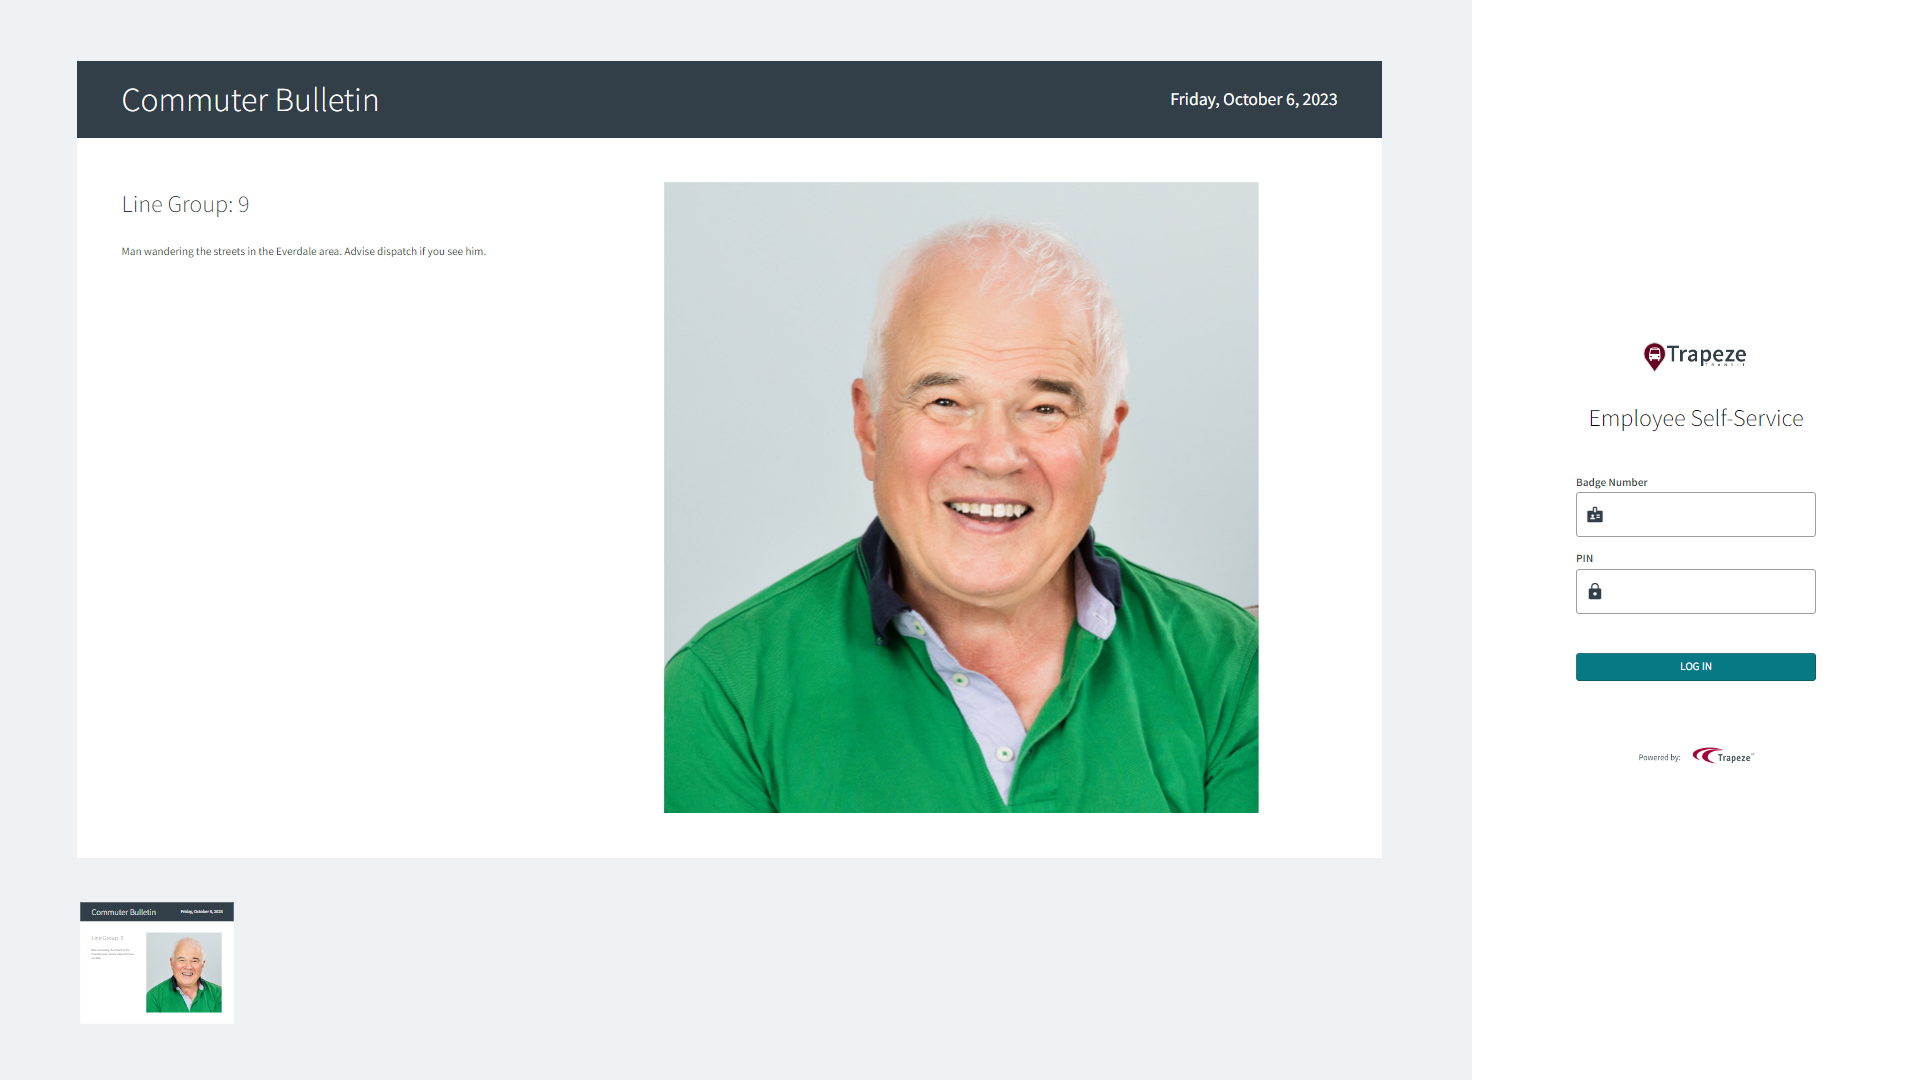
General and document bulletins are only visible in Employee Self-Service. Document bulletins must contain an attachment.You can add an image to a detour bulletin, if desired. Supported formats are .gif, .jpg, and .png. These images are visible on the Employee Self-Service sign-in page. On this page, detour bulletins are called commuter bulletins.
-
Select the Divisions for which the bulletin is
intended.
Only employees in the selected divisions are able to see the bulletin.
-
Select a From Date and To Date
for the bulletin.
The bulletin is only visible during this date range.
-
Select the days of the week for which the bulletin is valid.
This field, in conjunction with the date range, determines when employees can see the bulletin.
- Enter the bulletin text.
-
For detour bulletins select whether the bulletin should be filtered by
Line, Line Group, or
Work.
This field, in conjunction with the selected divisions, determines which employees can see the bulletin.The Line List is filtered based on the From Date defined in the screen Context and the associated sign-up period.
-
For document bulletins select Employee Type(s).
This field, in conjunction with the selected divisions, determines which employees can see the bulletin.If a document bulletin requires acknowledgement by employees, select Acknowledge Action.
- Select OK.
-
Add an attachment:
- For Document bulletin types, the Manage and View Attachments dialog automatically appears.
- For Detour bulletin types, select Bulletin
Attachment:

-
For document bulletins that require employee acknowledgement, you can check to
see who has acknowledged the document.
-
Select Bulletin Acknowledgement:
 The Employee Acknowledgement dialog appears.
-
Select Bulletin Acknowledgement: