Creating Detour Bulletins
Detour bulletins can be created from the OPS Line Group, Runs Display, and OPS Bulletins screens.
-
In the Client Shell, open the OPS Bulletins screen and set
the Context (F3).
When creating detour bulletins from the OPS Line Group screen, the bulletin is limited to the selected line group. When creating detour bulletins from the Runs Display screen, the bulletin is limited to the selected work.
-
Select Add Bulletin:

- Select Detour.
- Select the Divisions for which the bulletin is intended.
-
Select a From Date and To Date
for the bulletin.
The bulletin is only visible during this date range.
-
Using the Week Template, select the days of the week for
which the bulletin is valid.
This field, together with the date range, determines when employees can see the bulletin.
-
Select whether the bulletin should be filtered by Line,
Line Group, or Work.
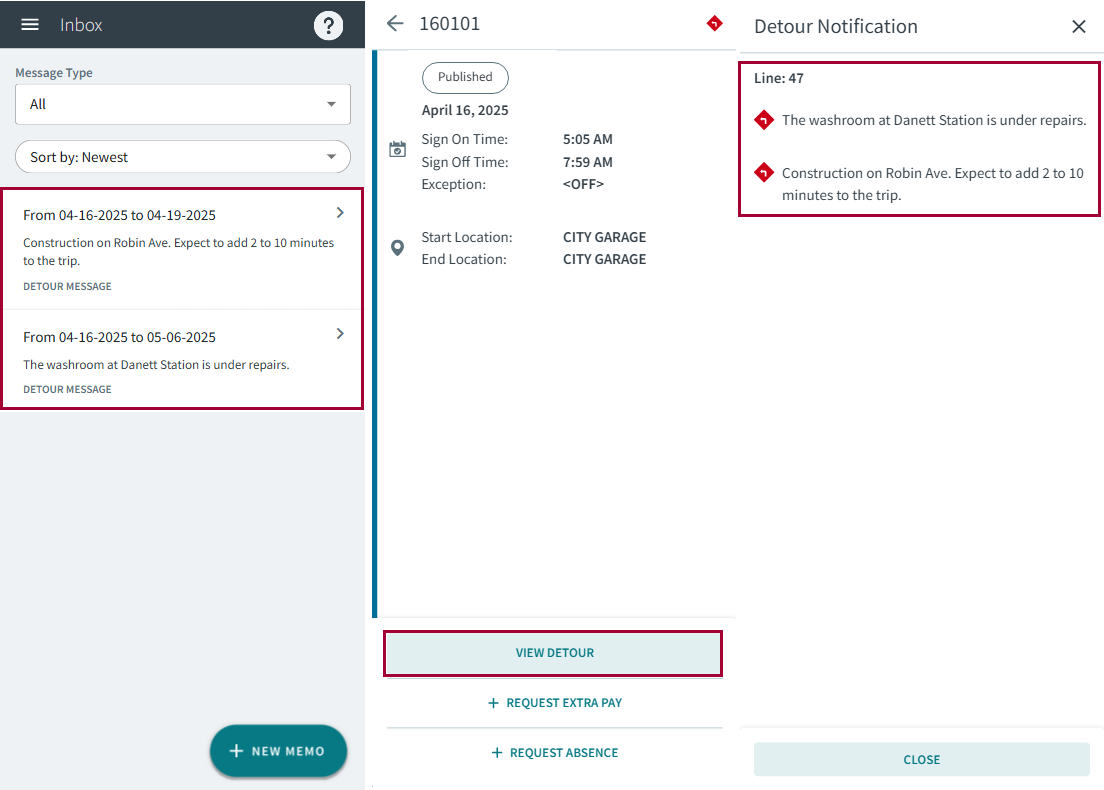
Line is filtered based on the From Date defined in the screen Context and the associated sign-up period.The selected field and its selected value determines which employees can see the bulletin in their calendar. All of the selected division's employees will see the detour bulletin in commuter bulletins on the login page and in their Inbox.
- Enter the Bulletin Message.
- Select OK.
-
To add an image to a detour bulletin, select the newly created bulletin and
then Bulletin Attachment:
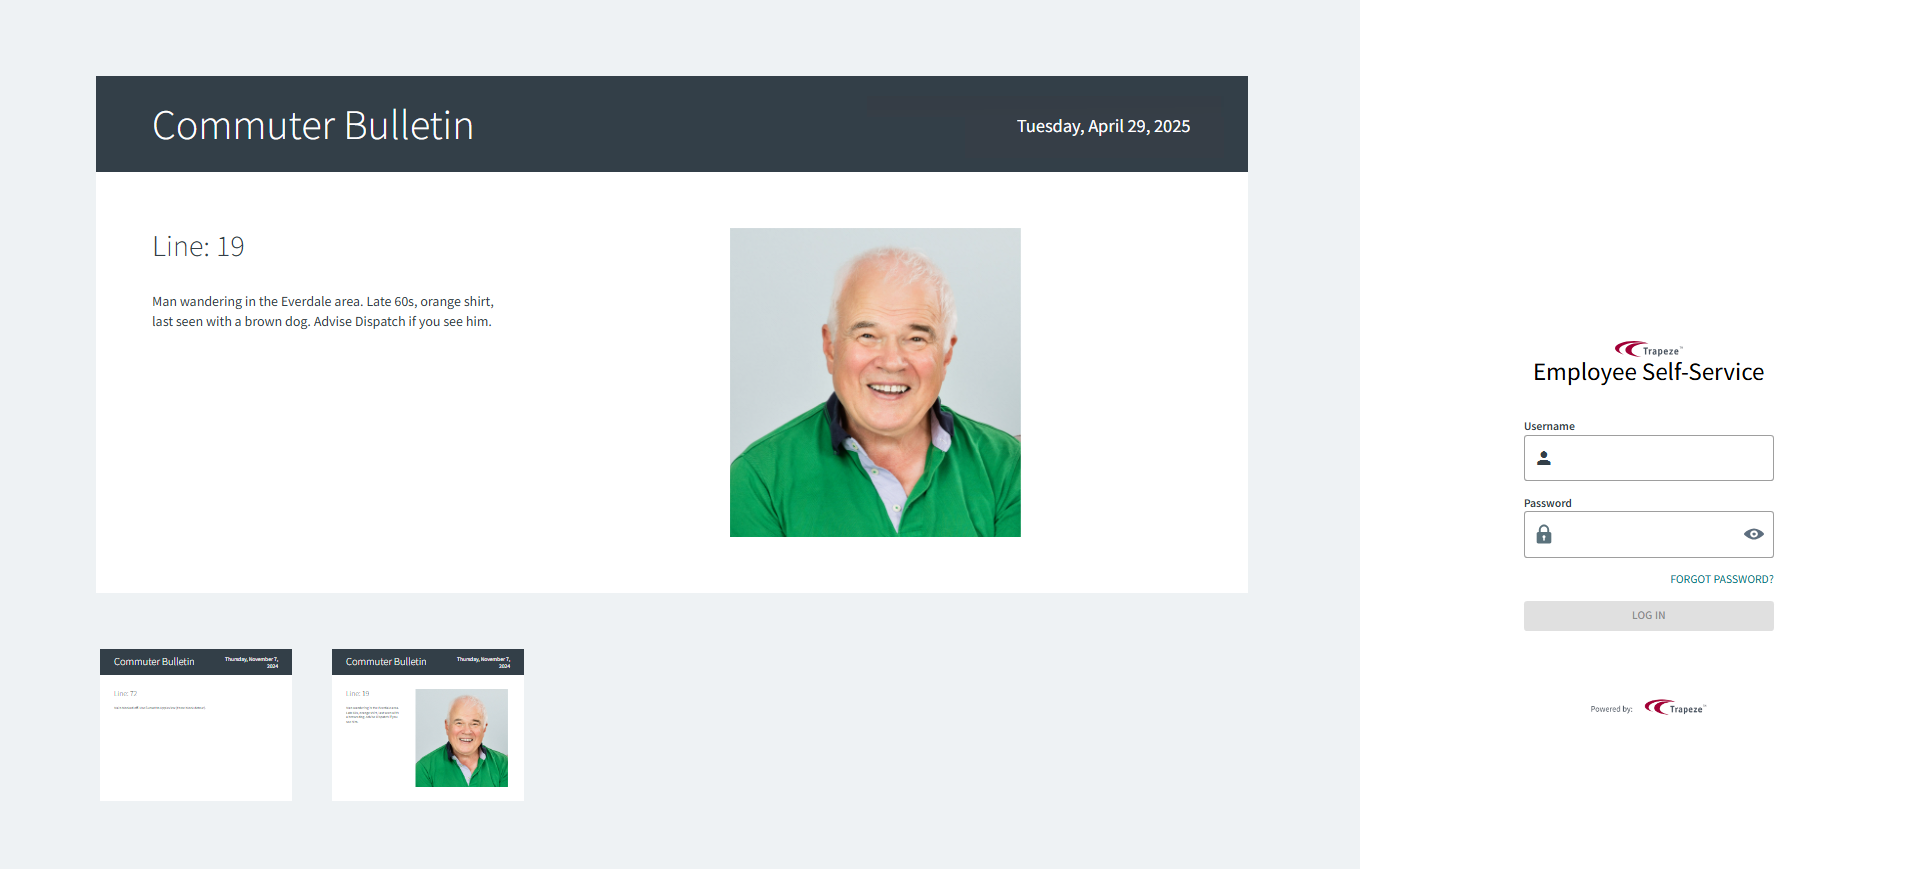
 If multiple images are attached to a detour bulletin, each image appears in its own copy of the detour message on the ESS login page.Important:Commuter messages do not appear on the login page for employees using smaller screens.Images are shown in commuter bulletins on the ESS login page on larger screens.