By default, the Trips screen is in Single Line mode, that is,
the Single Line Display button is selected.
Perform one of the following steps:
On the Trips tab, click Trip Building > Context > Multi Line.
Click the Multi Line Display button: .
The selected grid appears blank.
Press F3.
The Set Mode dialog box appears.
The values that appear in the Signup Period,
Service, and Exception Combo fields are
the same as those you set when you opened the Trip Building screen. Make the changes as
necessary to view the trips that you want.
In the Signup Period list, select the appropriate sign-up
period.
In the Service list, select the appropriate service.
Optional: From the Exception Combo list, select the
appropriate exception/exception combination.
From the Top Grid Lines and Bottom Grid Lines
frames, select a line and direction and select the check box beside them.
Click OK.
The trips associated with the selected lines and directions appear on the Trips
grids as shown in the following example.
Edit or perform any of the applicable procedures required.
Note: On some of the tabs in the Edit dialog box, the
Line field allows you to select the line on which you want to
apply a functionality. On some tabs when the Trips tab is in the
multi-line mode, the Direction field is labeled
Grid, which shows the Top and Bottom options.
When you exit the Trip Building screen, a message appears if you
are in the multiple lines mode and switching to a single line mode. The message warns that the
new screen may be in a sign-up period different from the one you were using while in the
multiple lines mode.
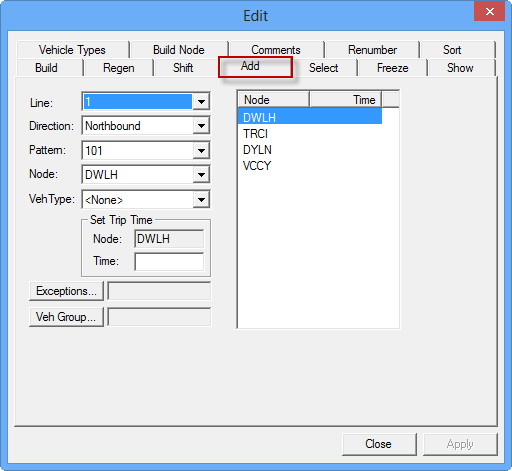
On the Add tab, the Line
field is activated and allows you to select the appropriate line. In the single line mode,
the field is not activated but shows the line selected in the context.
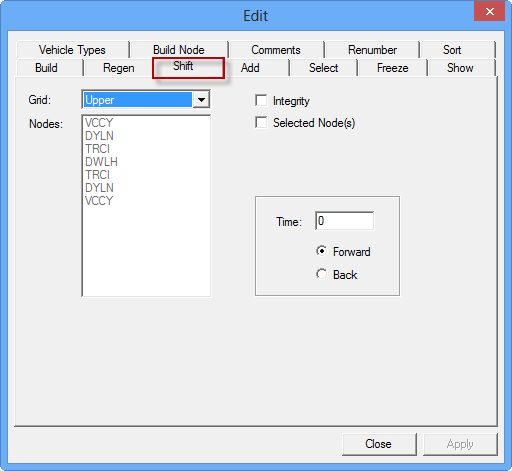
On the Shift tab, the Grid field is
shown. This field is shown as the Direction field when you are in
single line mode.
 .
. The values that appear in the Signup Period, Service, and Exception Combo fields are the same as those you set when you opened the Trip Building screen. Make the changes as necessary to view the trips that you want.