Customizing Fields
Grid fields can be customized as needed.
-
Click on the detail view and then either select Customize
Grid
 or right-click Customize.
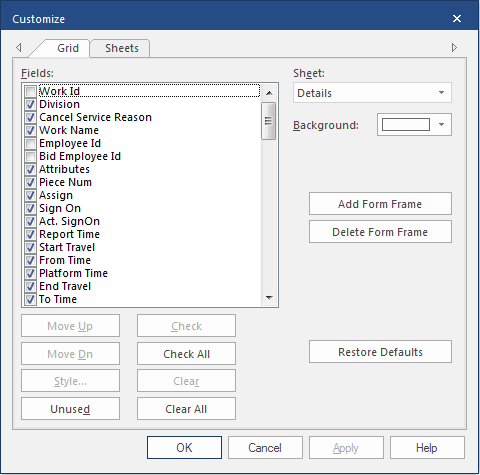
- From the Sheet dropdown list, select the sheet to customize.
- In the Fields list, select the fields to show on the sheet.
-
Do any of the following:
Option Description Move Up Moves the selected heading up the list. The order in which headings appear in this list determines the order in which they appear on your screen.
Move Dn Moves the selected heading down the list. The order in which headings appear in this list determines the order in which the headings appear on your screen.
Style Opens the Field Style dialog. This allows you to change the appearance of the selected field and the field's label. 
Check/Check All Select which headings/fields on the list appear on the sheet. To select one at a time, highlight the item and select Check, or select the checkbox next to the item.
To select all items, select Check All.
Clear/Clear All Allows you to clear the items you do not want to appear on the sheet either one at a time (Clear) or all at once (Clear All). Background Controls the background color of the fields. The background will be the same for the entire sheet, you cannot choose different background colors for individual fields.
Add Form Frame When you select the button, a new field is added to the Fields list. The new field is named FormFrameX, where X is a number. The new field appears on the screen. You can change the name using the Style button. These fields can be used as labels to identify sections on a sheet.
Delete Form Frame Delete a frame from the active screen. Select the field from the list and then Delete Form Frame.
Restore Defaults Restores the original layout settings. Unused Add fields to the current sheet that are not used by any other sheet. - Select OK.