Viewing and Composing Case Emails
Automatically generated client case emails can be viewed and edited during the Compose phase.
Before you begin
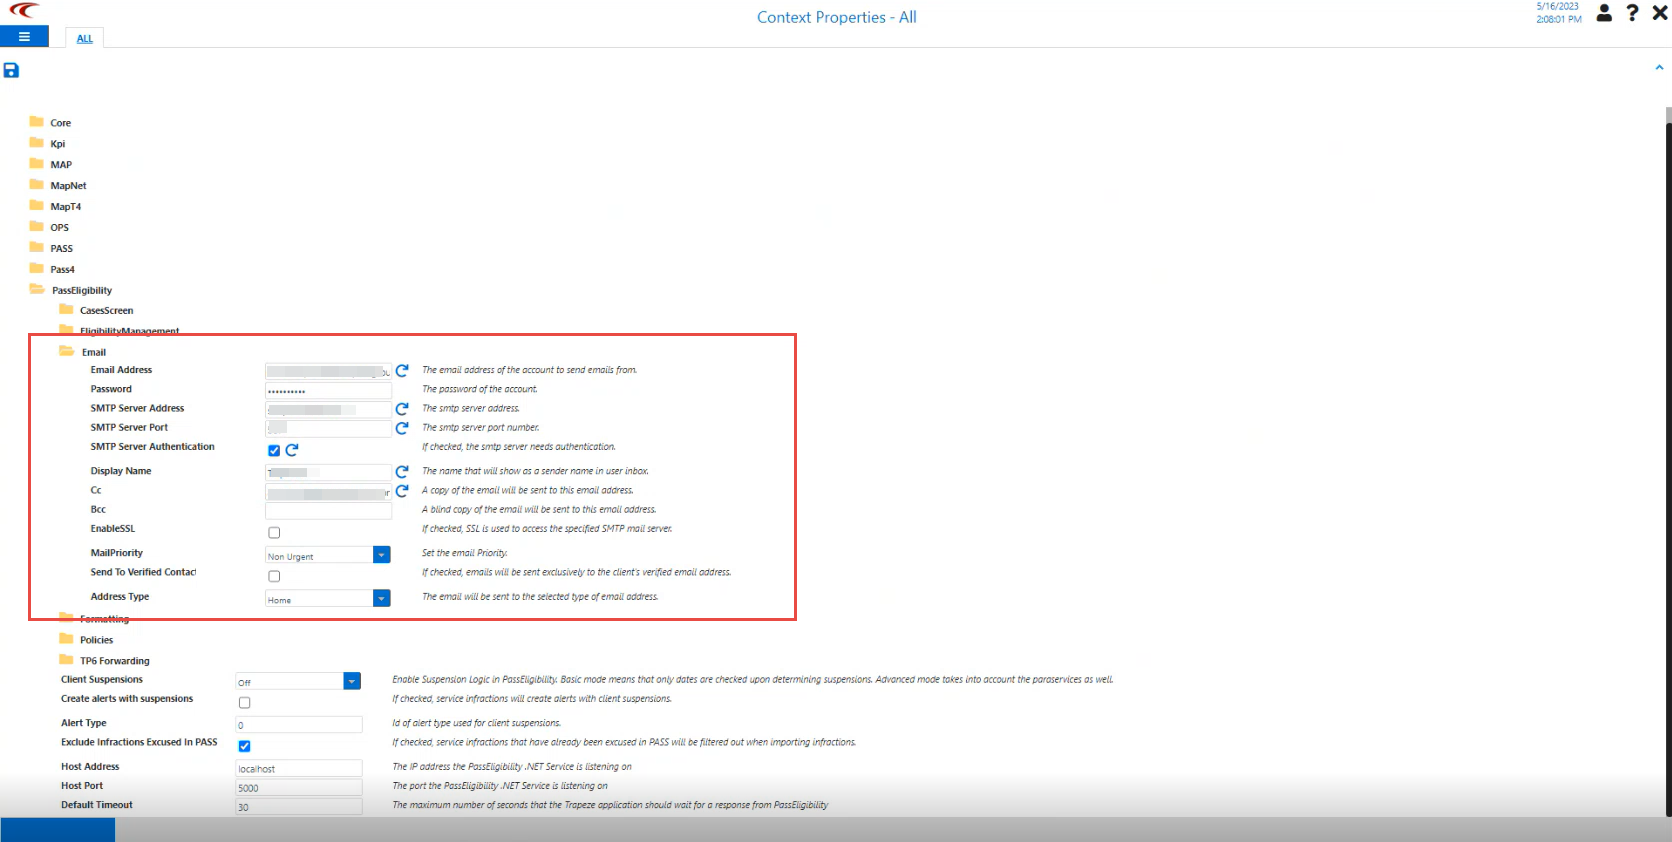
- Email context properties must be configured. See Service Infractions Context Properties for descriptions of Email
context properties.
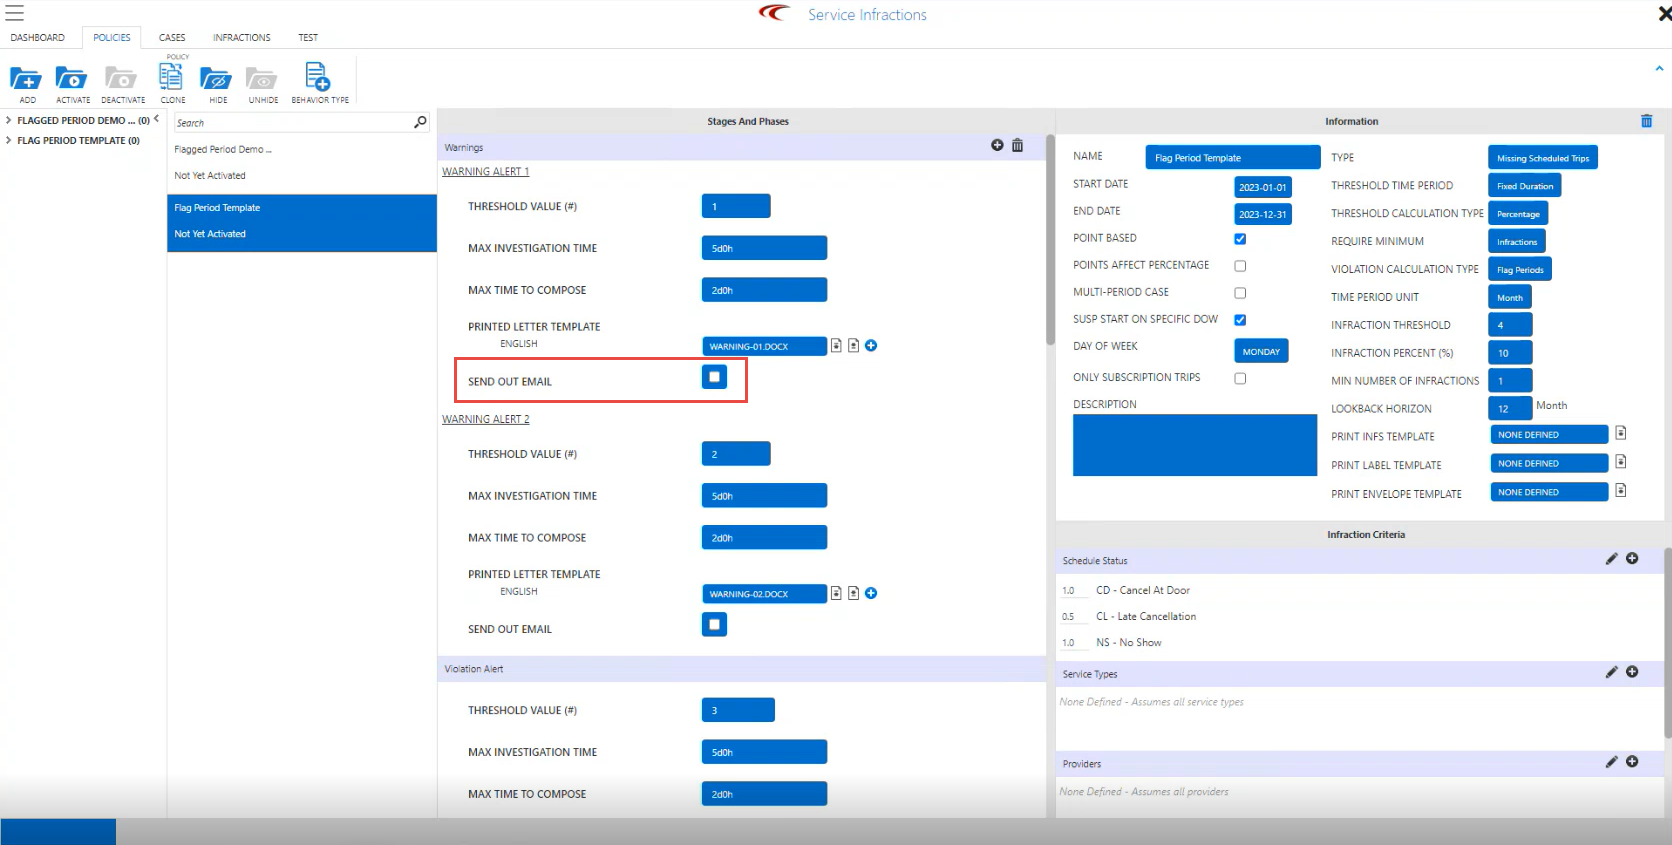
- In a policy's settings, click Send Out Email for each
phase of the policy to verify the SMTP server credentials. A blue check mark
will indicate that the connection was successful.
 Note: After the connection is successful, you can add the email subject and upload the email template. If you have a preset policy, this will automatically appear.
About this task
Procedure
- Open the Cases tab.
-
Click Case Emails.
Case Emails appear in the selected pane.
-
Do one of the following:
- Click the email link in the Case Emails widget.
- Click Download.
You can also download case emails for all clients in a selected Compose phase by clicking the arrow next to Download and then clicking All in Phase. -
Navigate to the downloaded email.
The downloaded file may be accessible in your web browser, or you may need to look in the hard drive. Typically, downloaded files are found in the Downloads folder.
-
Double-click on the email to open it in Microsoft Word.
The email can be viewed and edited.