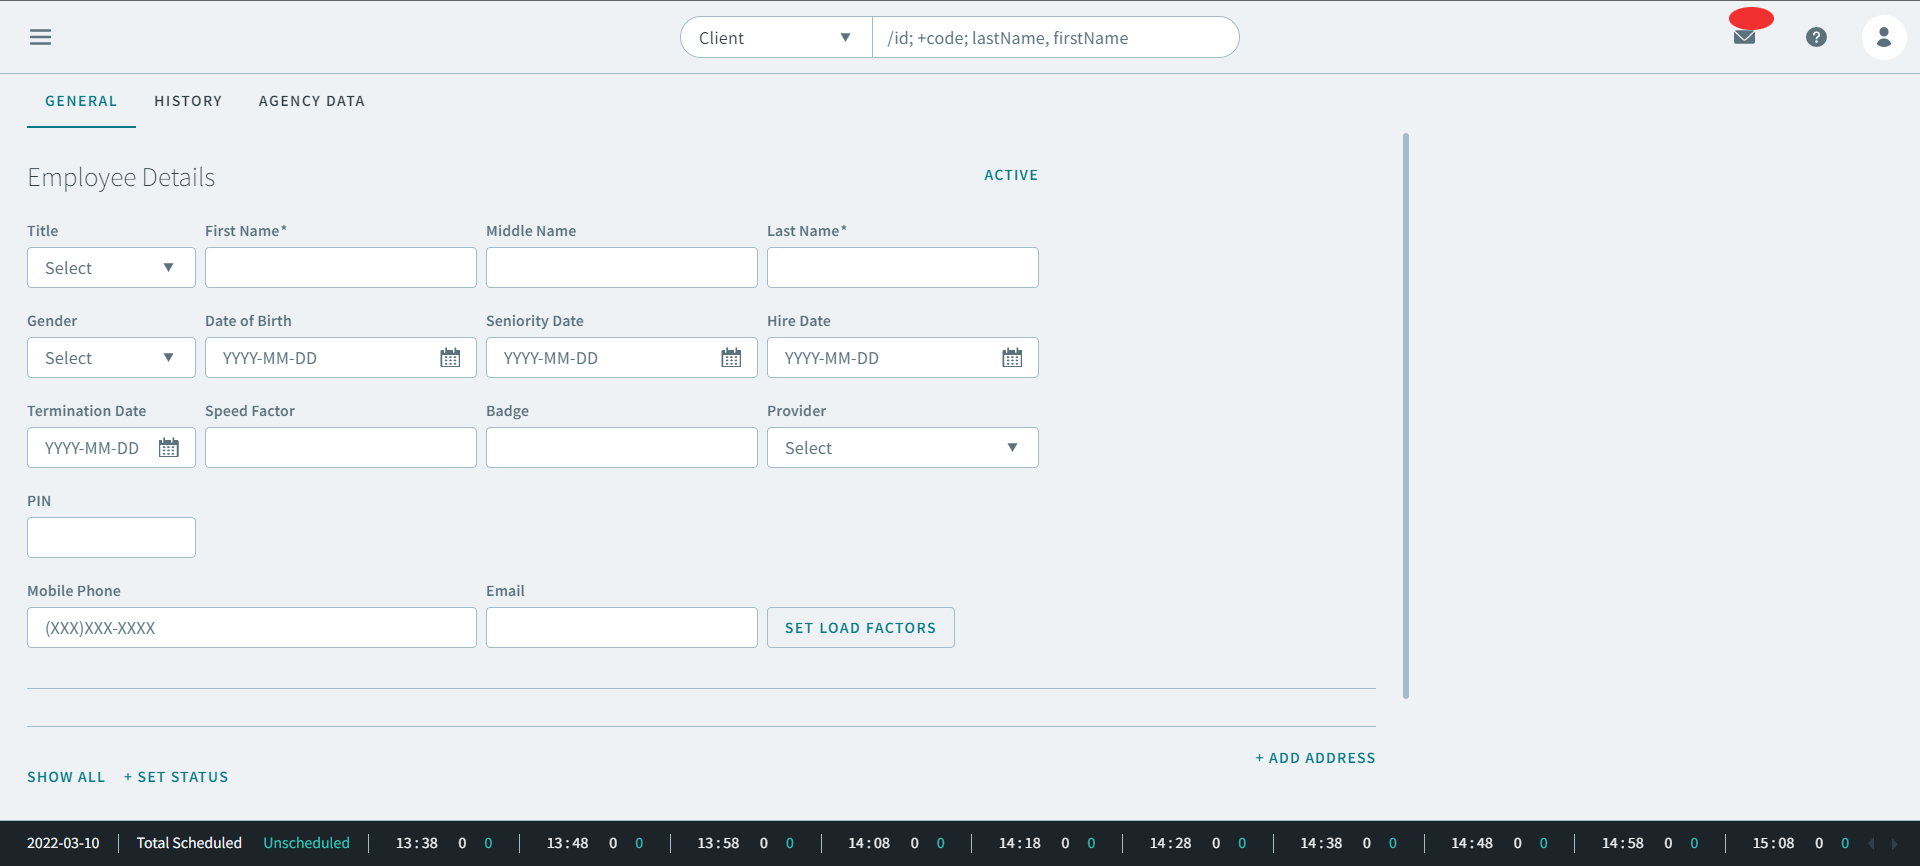
Creating Employee Profiles
Employee profiles contain information of the employees working at a transit agency.
Before you begin
Procedure
-
On the Employees page, click +Add Employee.
The Add Employee page opens
-
Complete the following fields:
Tip:When entering a date for a field, use the format yyyy/mm/dd.
- In the Title list, select a designation.
- In the First Name box, enter a name.
- In the Middle Name box, enter a name.
- In the Last Name box, enter a name.
- In the Gender list, select a gender.
- In the Date of Birth field, enter the date, or select a date from the calendar.
- In the Seniority Date field, enter a date, or select a date from the calendar.
- In the Hire Date field, enter a date, or select a date from the calendar.
- In the Termination Date field, enter a date, or select a date from the calendar.
- Enter a number in the Speed Factor box.
- Enter a number in the Badge box.
- In the Provider(s) list, select a provider.Remember:Providers must be setup in Trapeze4 ancillary data by your system administrator.
- Enter a number in the PIN box.
- Enter a phone number in the Mobile Phone box.
- Enter an email in the Email box.
- Optional:
Click Set Load Factors
Set Load Factors dialog box opens
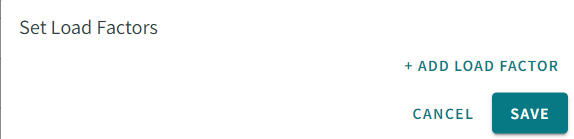
- Click +Add Load Factor.
- In the From Date box, enter a date, or select a date from the calendar.
- In the Load Factor box, enter a number.
- Click Save.
The load factor is set. - Optional:
Click +Add Address Type.
Remember:Address Types must be setup in Trapeze4 ancillary data by your system administrator.
- In the Address box, start typing an address, if it appears in the populated results, select the corresponding address to automatically geocode it.
- If there are no address results, select Address Matcher to manually geocode the address.
-
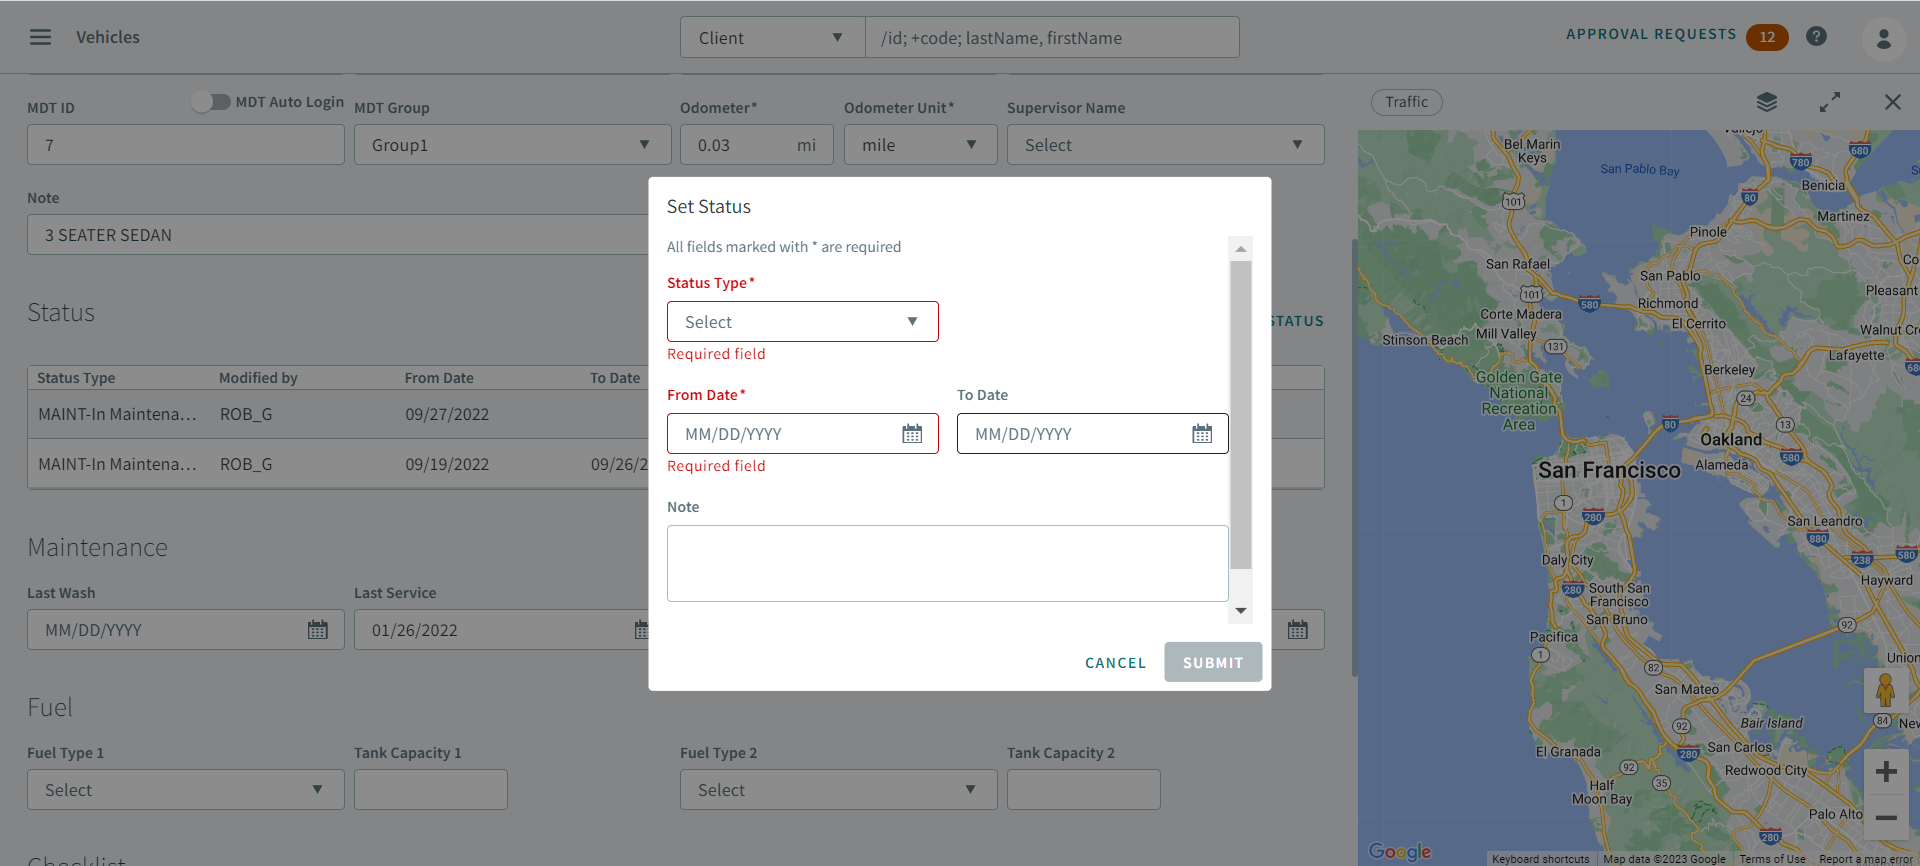
Click +Set Status.
The Set Status dialog box opens.
-
Click Save.
The employee profile is created.