Linking Bookings to Create a Client Itinerary
Linking bookings will automatically create a Create a Client Itinerary.
Before you begin
Procedure
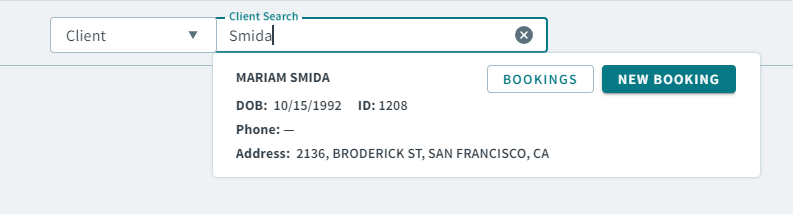
- Type a client name or client ID in the Global Search Bar.
-
When your client search result appears, click Bookings
in the client card result.
- In the Bookings grid, hold Ctrl on your keyboard and select the bookings that you want to link.
-
Right-click the grid and in the shortcut menu, select
Link.
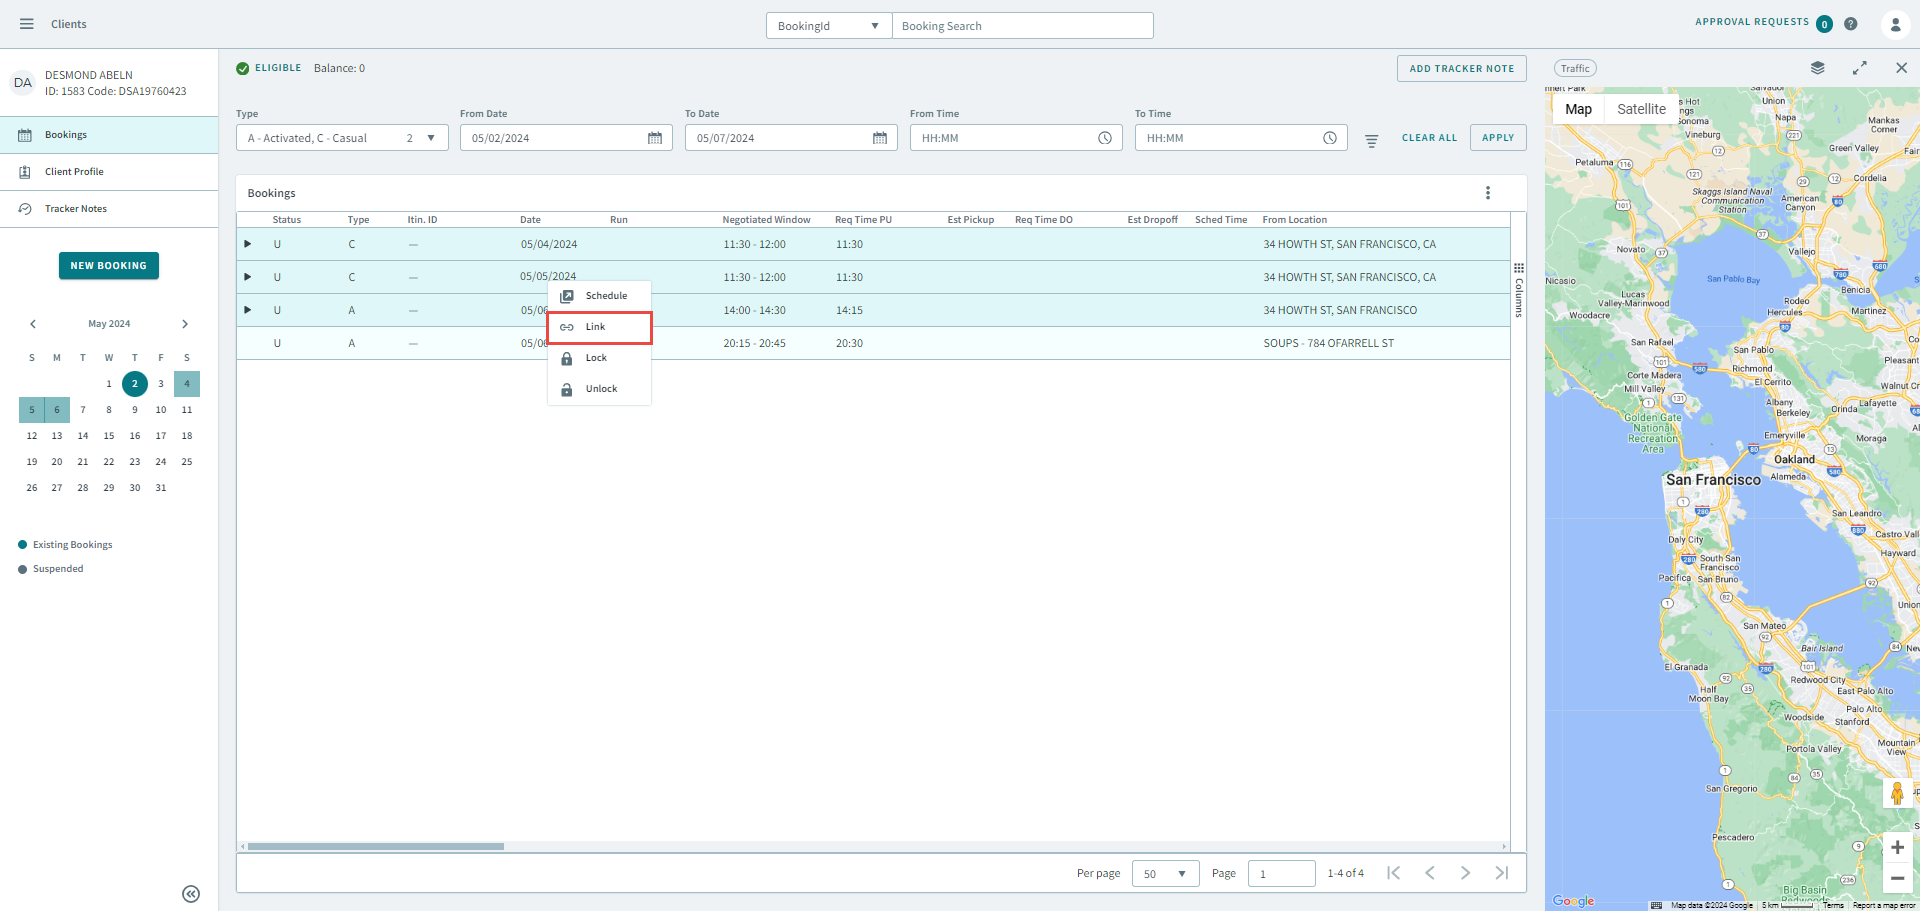
The Link Bookings pop-up window appears.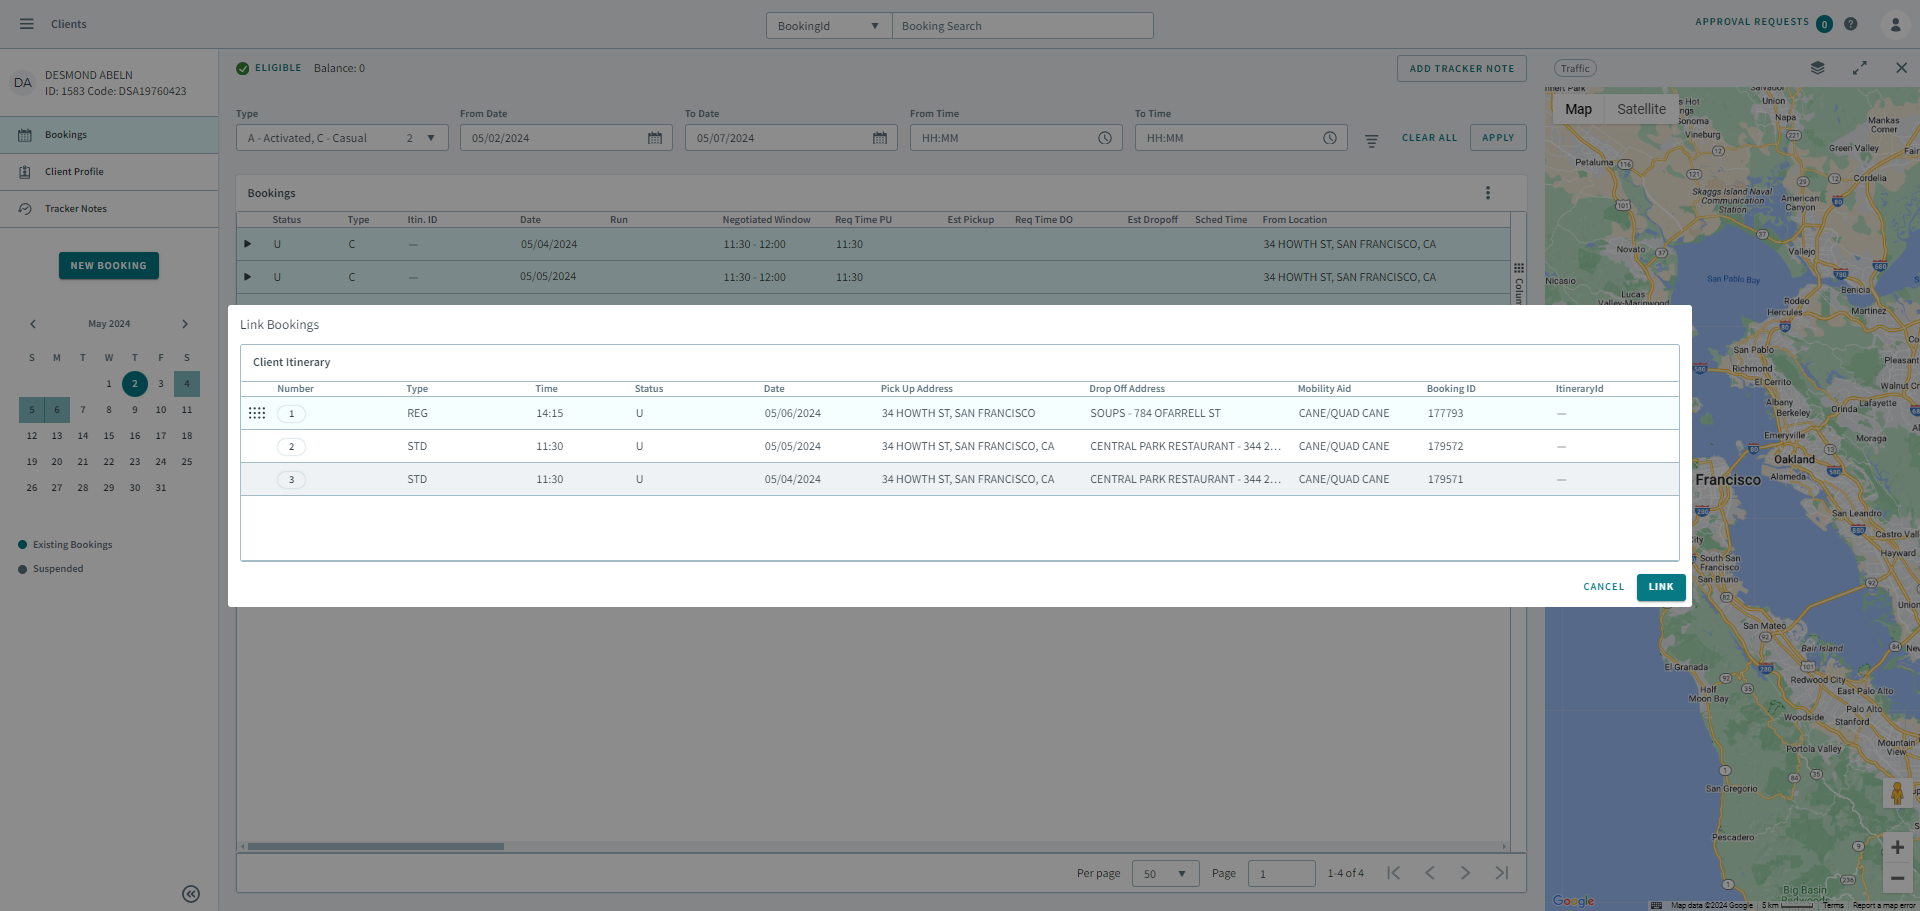
- Optional:
You can rearrange the order of the linked bookings by clicking and dragging a
booking to your preferred sequence.
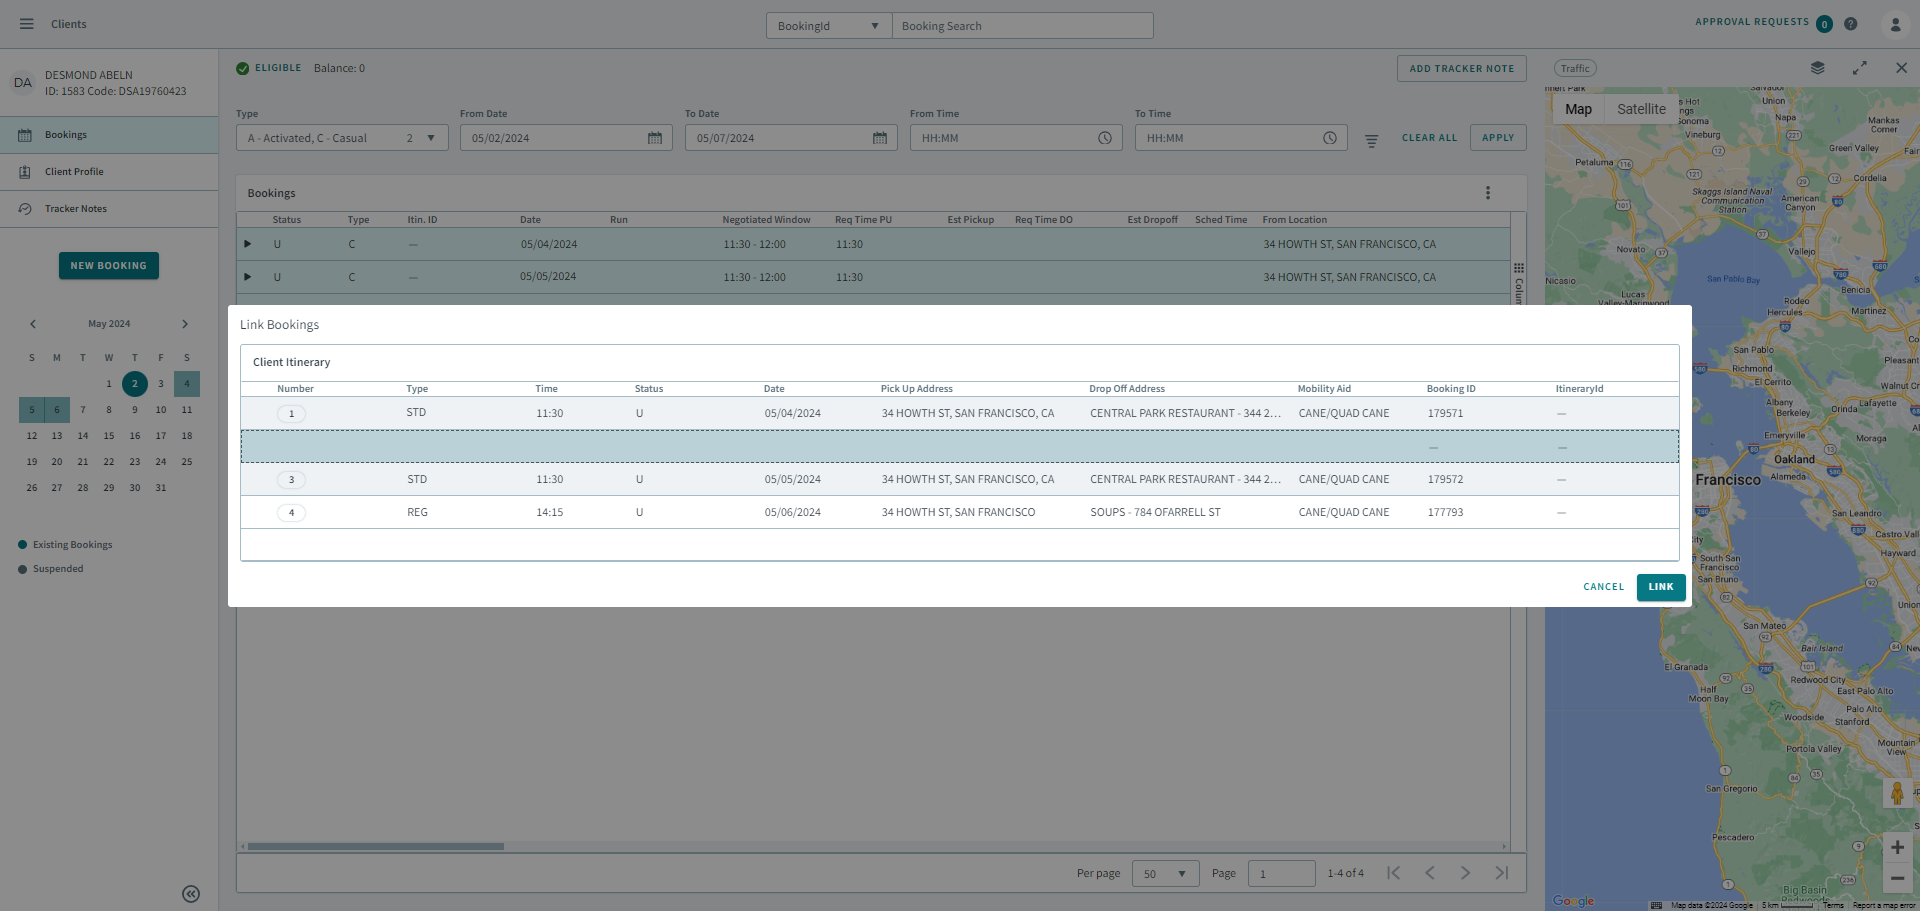
-
Click Link.
An Itinerary ID appears in the Itin. ID column indicating that the bookings are now linked.