Creating a New Client
A client profile contains information used for booking trips.
About this task
Procedure
-
Click
 Main Menu.
The OneMobility main menu opens.
Main Menu.
The OneMobility main menu opens.
-
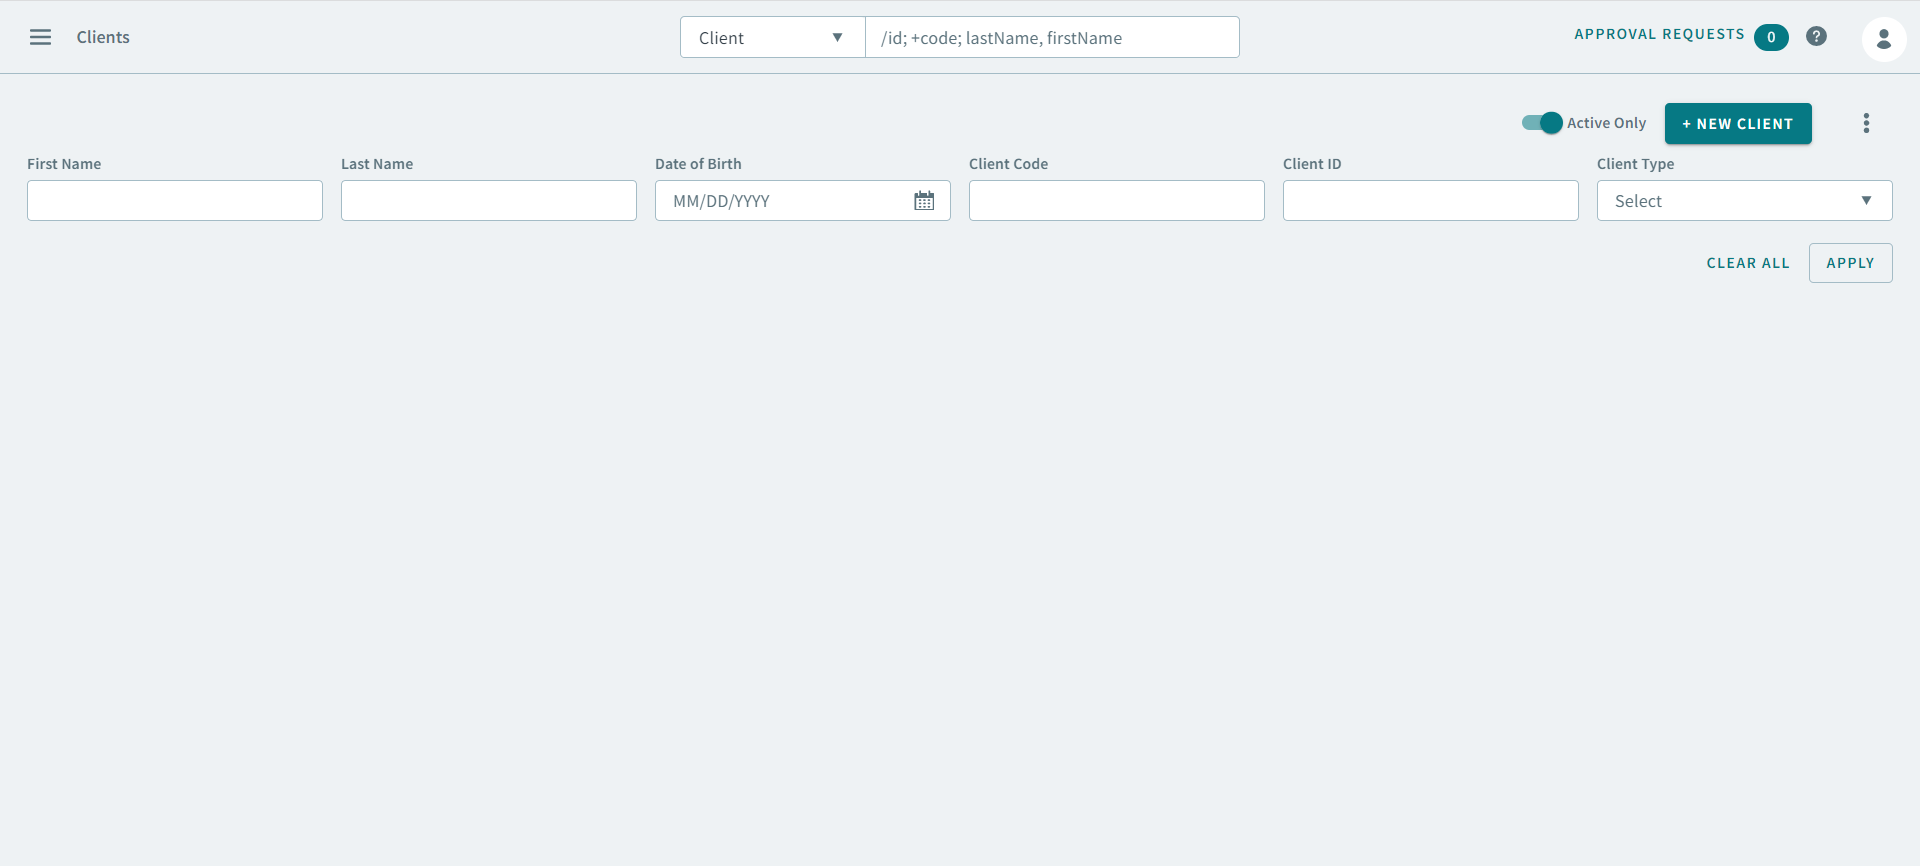
Click Clients
The Clients page opens.
-
Click New Client.
A new client profile opens.
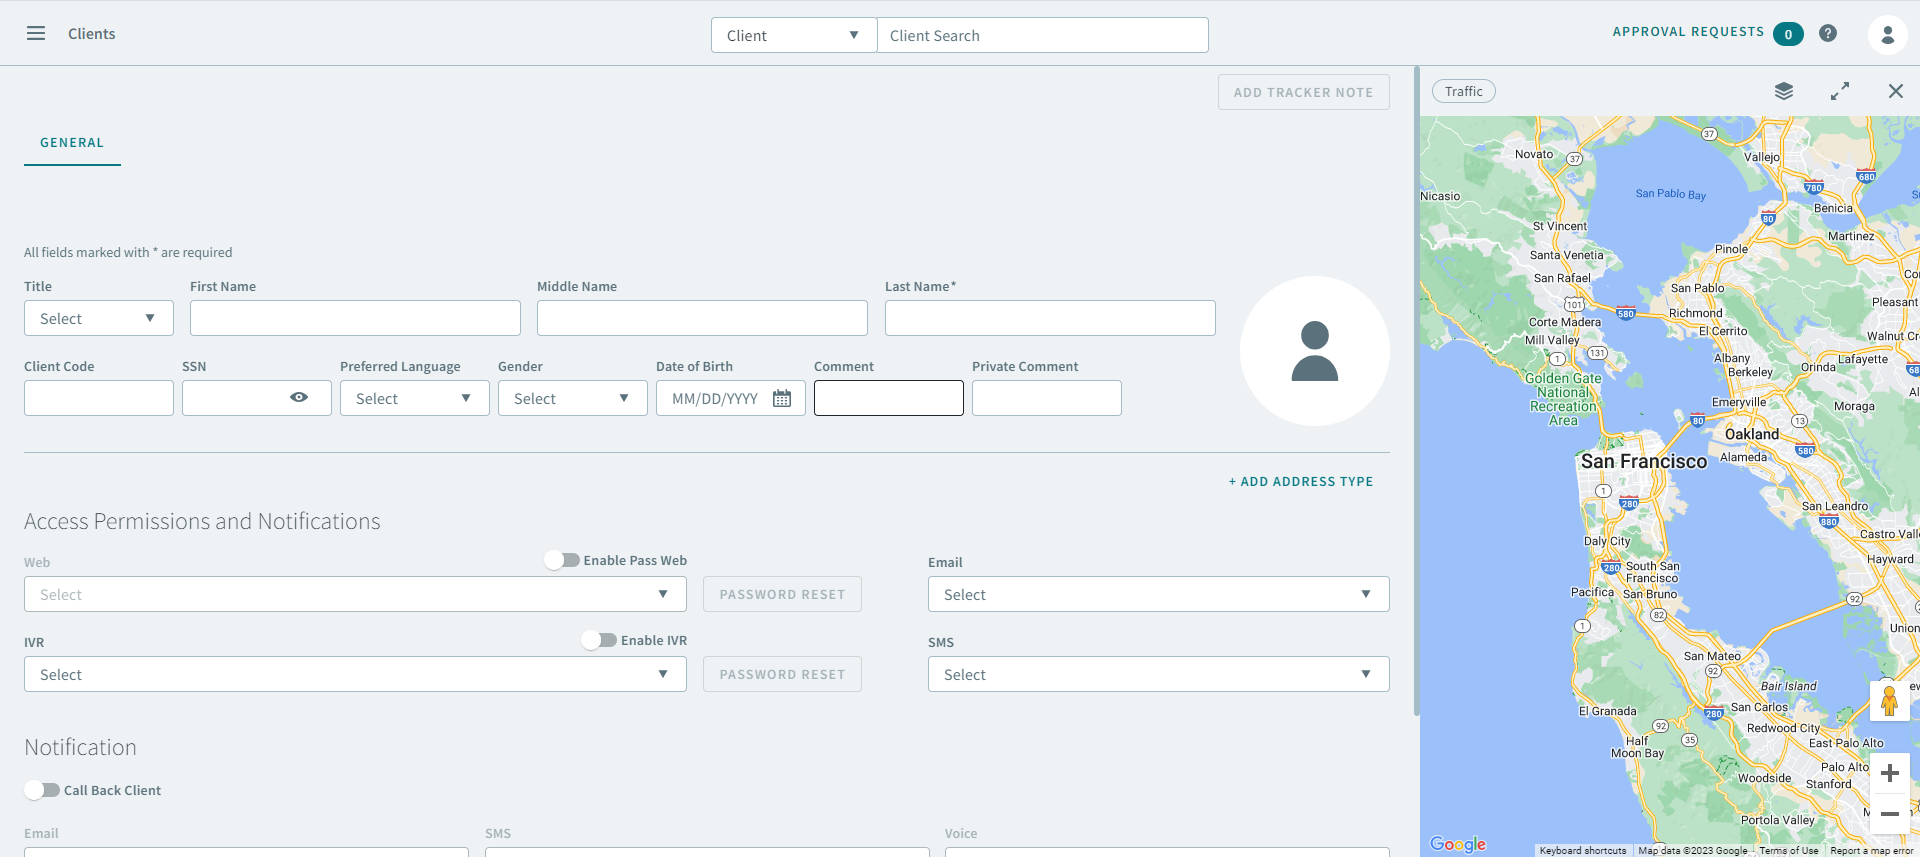
- In the General tab, complete the following fields:
- Optional:
Click Add Address Type and select an address type from
the dropdown list.
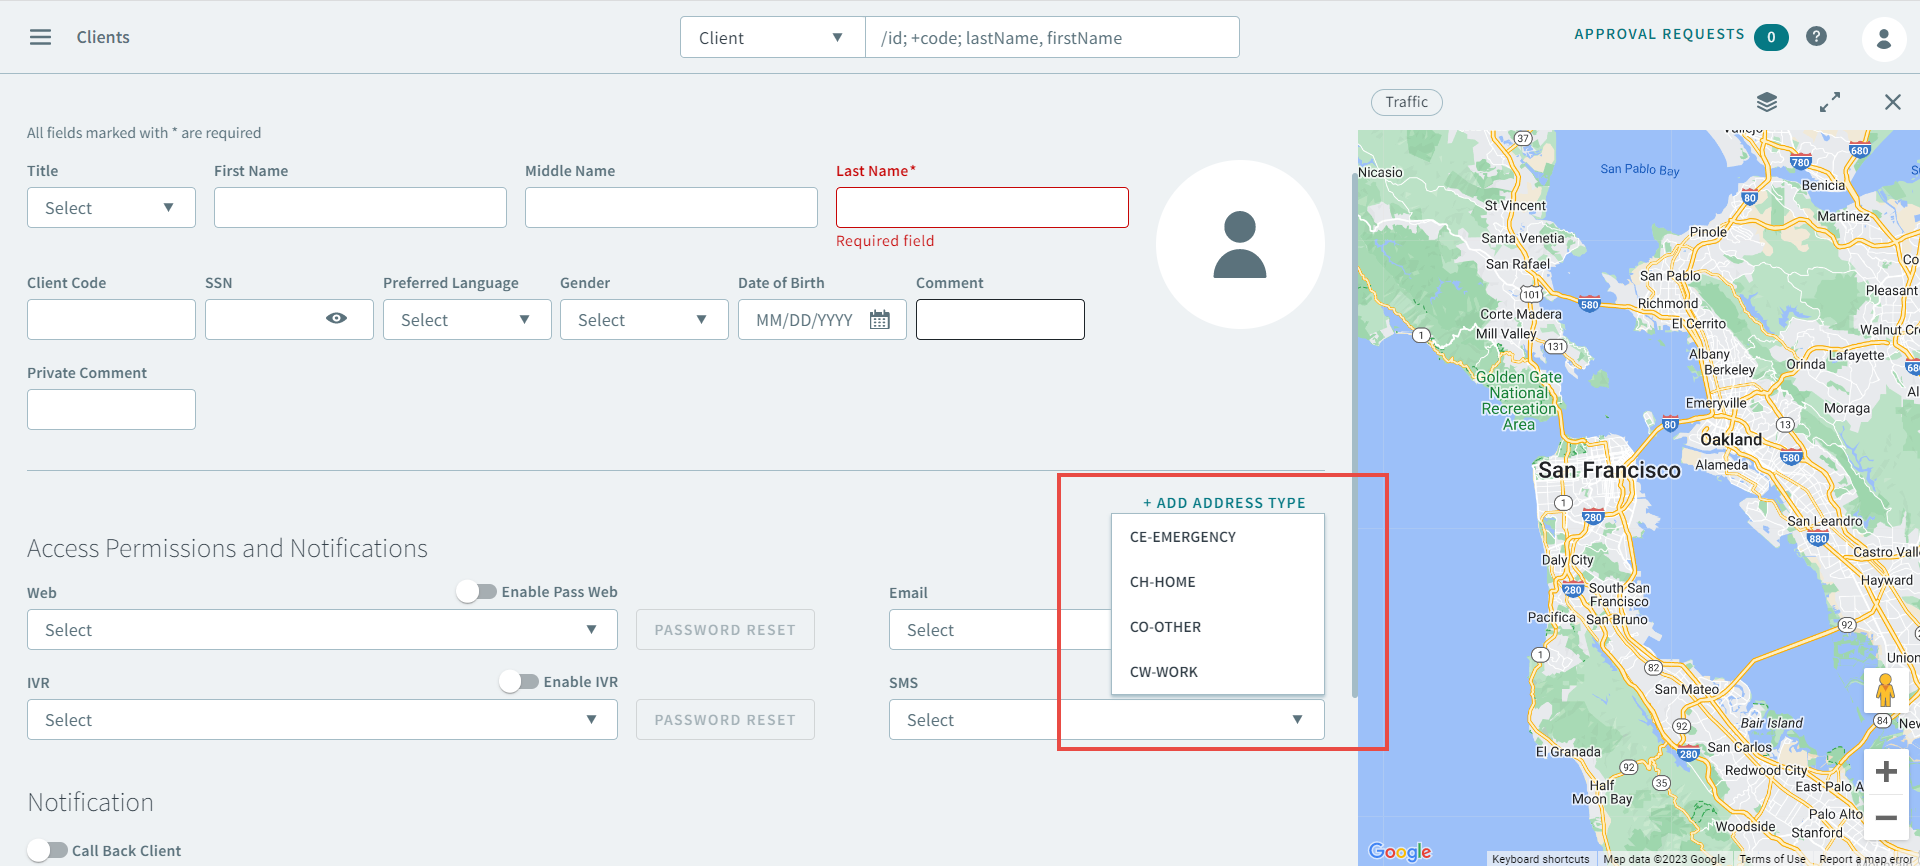
Attention:If there are no Address Type options in the Add Address Type dropdown list, then they must be added in the Ancillary Data.An address type appears in the client profile.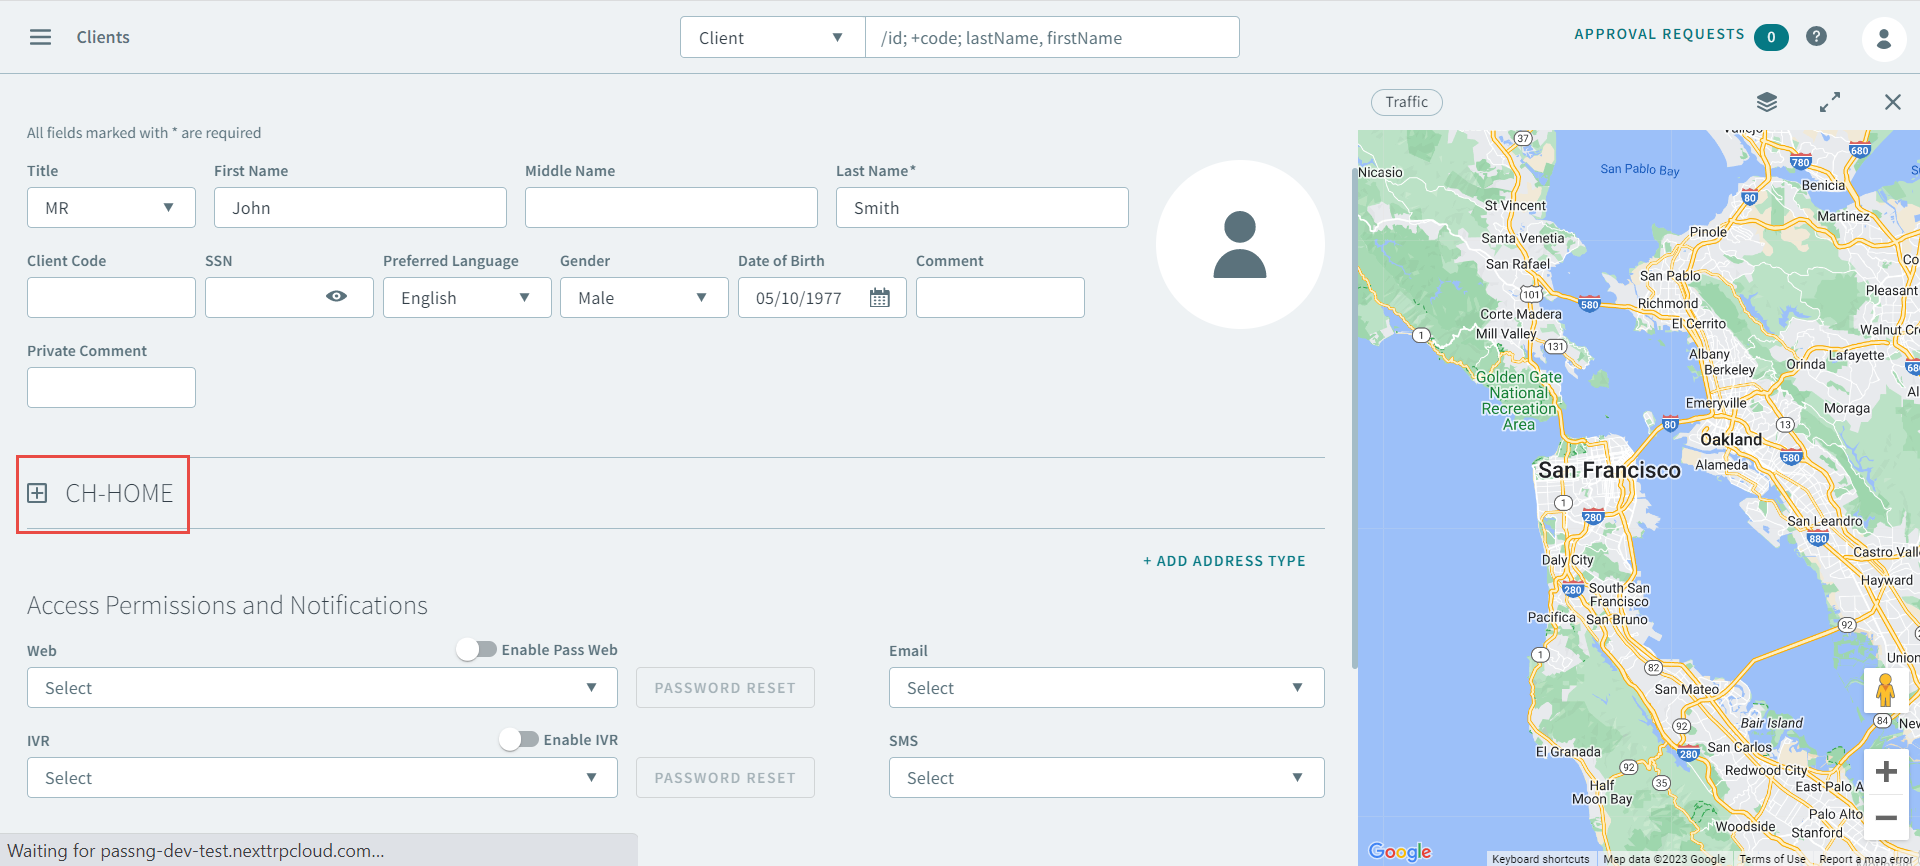
- Optional:
Click the + to expand the address type fields.
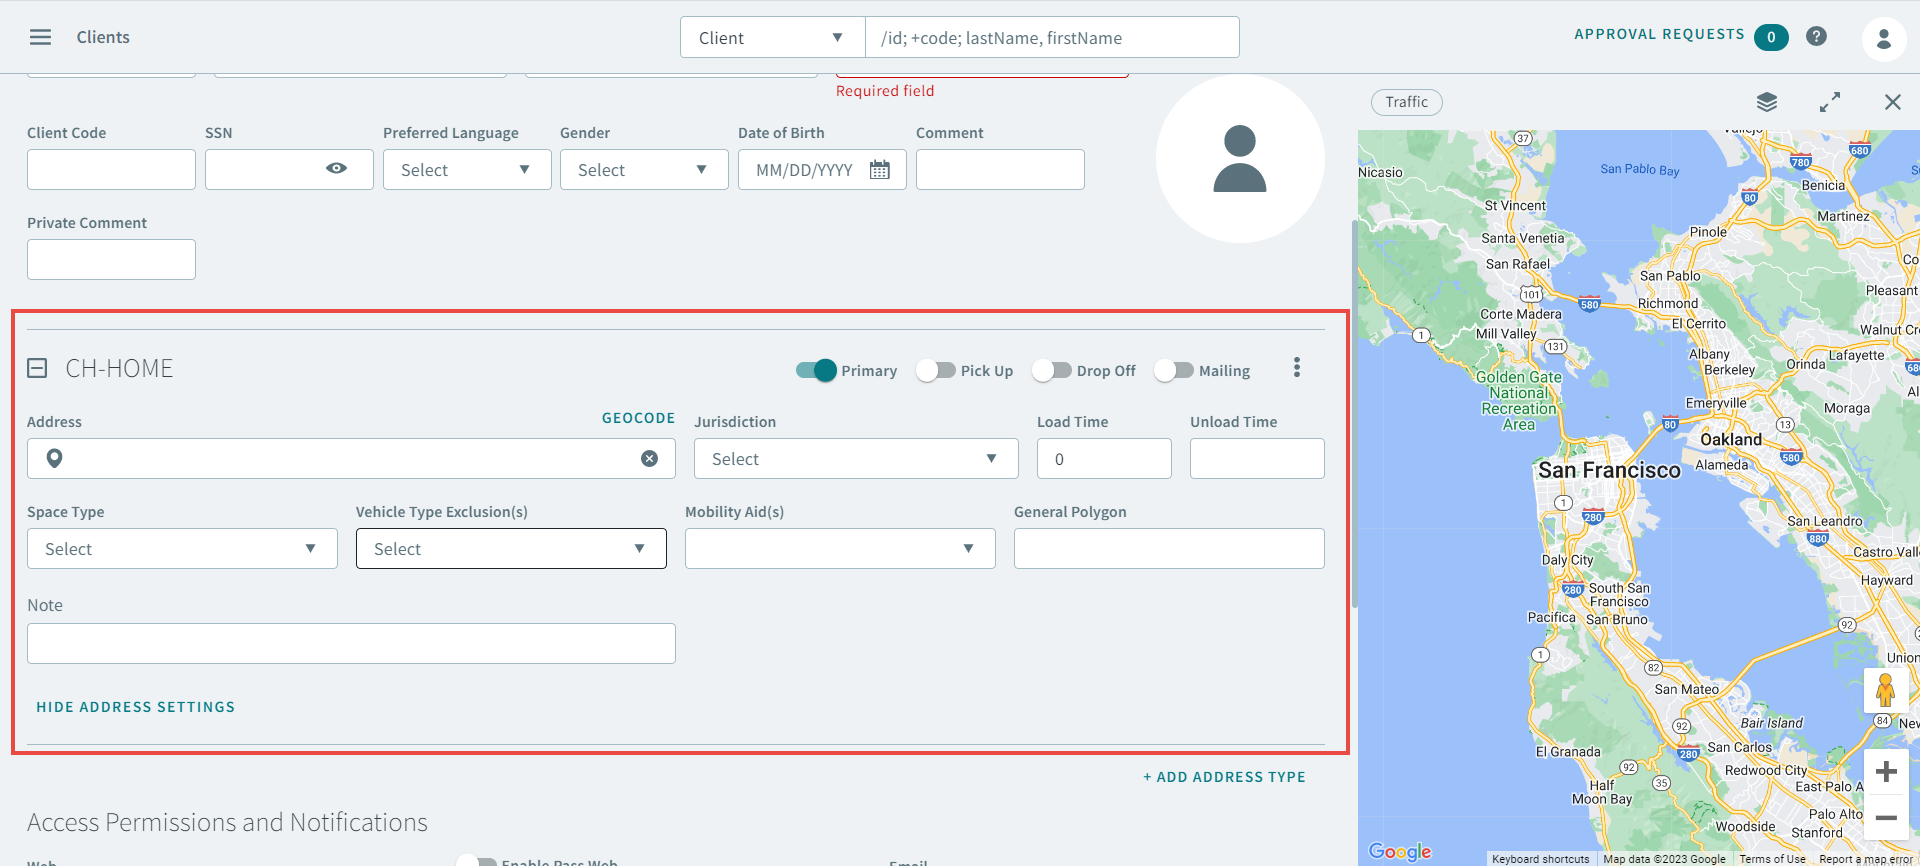
- Optional:
Turn the following toggles on to specify what kind of address is this:
Attention:You cannot designate the address as a pick up and drop off. You will not be able to turn both toggles on simultaneously.
- Optional: In the Address box, enter the address of the client.
- Optional:
While entering an address, if it did not populate in the box, you can click
 Address Matcher.
Tip:See Using Address Matcher for how to match addresses.
Address Matcher.
Tip:See Using Address Matcher for how to match addresses. - Optional:
If the address didn't appear in the Address Matcher,
click Geocode to geocode the address.
Tip:See Geocoding Addresses for how to geocode.
- Optional:
Complete the remaining fields associated with the address type:
- JurisdictionNote:Jurisdiction may be pre-populated based on the address match result for the selected address.
- Load Time
- Unload Time
- Optional: Space Type
- Vehicle Type Exclusion(s)
- Optional: Mobility Aid(s)
- General Polygon
- Optional: Note
Tip:Consider the following when completing the fields:- If Space Type and Mobility Aid(s)are not required, leave each field blank.
- Load times and unload times are cumulative and should be used with caution.
- The mobility aid selected is used for bookings, but the space type, load times, and unload times will override the client definitions made when a booking is created.
- Jurisdiction
- Optional:
In the Access Permissions and Notifications section, do
the following:
Important:Access Permissions and Notifications settings require setup of PASS-Web or IVR add-on modules.
- Web
- Toggle Enable PASS Web on.
- Select a notification type from the dropdown list.
- IVR
- Toggle Enable IVR on.
- Select a notification type from the dropdown menu.
- Select a notification type from the Email dropdown menu.
- Select a notification type from the SMS dropdown menu.
- Toggle Call Back Client on.When Call Back Client toggle is on, the notification types below are switched on. If required, turn any of the following on:Attention:The notification types displayed may change depending on the IVR system and notifications that are enabled within that system.
- Send Update (same day) - Voice
- Send Reminder (previous day) - Voice
- Booking Confirmation - Email
- Booking Confirmation - SMS
- Booking Confirmation - Voice
- Vehicle Arrived - Voice
- Web
- Click Save.